The Perfect Roasted Chicken
Juicy, crispy spatchcock roasted chicken made simple! Learn how to roast a whole chicken evenly with golden skin and tender, flavorful meat—perfect for any night of the week. It really is The Perfect Roasted Chicken! Use it in tacos, soups, stews, or on top of salads. The options are endless!
Why You’ll Love This Chicken Recipe
If you’ve ever wanted a roasted chicken that’s perfectly crispy on the outside and juicy, flavorful on the inside—this is it. I call this “The Perfect Roasted Chicken” and I use a simple spatchcock method (don’t worry, it’s easier than it sounds!) to help the chicken cook more evenly and in less time. The result? Golden, crackly skin, tender meat, and a foolproof dinner that feels both comforting and a little bit special.
Whether you’re making a cozy weeknight meal or hosting friends, this recipe keeps things simple with pantry staples and minimal prep—so you can focus on enjoying the process (and the incredible smell coming from your oven). I’ll walk you through exactly how to spatchcock a chicken, season it for maximum flavor, and roast it to perfection every single time.
Tips & Tricks for The Perfect Roasted Chicken
- SPATCHCOCK YOUR CHICKEN – This brings down the cooking time significantly, and I feel like more of the chicken’s surface area gets crispy. I’ll explain below how to spatchcock a chicken when you scroll down, it is so easy, and always looks impressive when serving.
- PAT IT DRY – This is such an important step! It is imperative that you pat the entire outside of the chicken with paper towels to take away some of that moisture. This ensures that the chicken skin will get nice and crispy, no one likes soggy skin!
- COOK AT 425 DEGREES – Remember, we are roasting a chicken, not baking it. You want it to turn golden brown and crispy, so roasting it at a higher temperature is ideal.
- COOK UNCOVERED – I like to roast it uncovered because it creates the browning on the outside much easier, if you feel like it starts to brown too quickly, then you can tent it with foil, but don’t seal it completely.
- SEASON GENEROUSLY – This will do wonders for the flavor. You need to use a little bit more seasoning that you may think you need. You also want to make sure that you season ALL sides of the chicken, not just the outside of the skin. Get the seasoning in all of those hard to reach places, and season the bottom side of the chicken as well.
- USE SOME TYPE OF FAT ON THE OUTSIDE – You can use olive oil, avocado oil, butter, ghee, whatever you like! You need to rub some type of fat generously on the outside of the chicken, as well as under the skin. It won’t brown nearly as well without it.
- STUFF THE CAVITY – Stuffing the cavity with aromatic veggies will add SO much flavor to the rest of the chicken. You can get creative with garlic, onion, lemon, carrots, and fresh herbs. Don’t be fooled into thinking that flavor is only on the outside.
- TAKE THE CHILL OFF – Make sure you remove the chicken from the fridge at least 30 minutes before roasting. This will take the chill off and prepare it for more even cooking.
- USE A THERMOMETER – To make sure that the chicken is cooked all the way through, use a meat thermometer. This is the easiest and most foolproof way to know that you won’t be cutting into raw chicken. Just stick the thermometer between the breast and thigh, avoiding the bone. Take it out of the oven when it reads 160 degrees, it will keep cooking a few extra degrees as it rests. You want the final result to be at 165 degrees.
- MAKE SURE THE JUICES RUN CLEAR – Another way to ensure that it is cooked is to stick a knife into the thigh. If the juices run completely clear, then you should be good to go.
- LET IT REST AFTER ROASTING – Make sure you let it rest for about 15-30 minutes after you take it out of the oven to let the juices redistribute. If you cut into it immediately, you will be left with a dry chicken because all of the juices will be in the pan.
How to Spatchcock a Chicken
First, let me explain what spatchcocking is. It is just a method of preparing a chicken by removing the backbone so that the chicken lays flat. It makes it look a little extra fancy when presenting it, and doesn’t take much work at all.
And there are even benefits to a spatchcocked chicken! It yields a much faster cooking time than a regular whole roasted chicken, you can usually cook it in about half the time in the oven. It also lets more surface area of the chicken get golden brown and crispy, which of course results in more flavor.
The only kitchen tool you need to spatchcock a chicken is a good pair of kitchen shears. You can always use a sharp chef’s knife, but trust me, kitchen shears make it so much easier.
- To start, lay the chicken on a large cutting board and pat it dry with paper towels. Then turn the chicken over so that the breast side is facing down, and the backbone is facing toward you.
- Next, take a pair of sharp kitchen shears and begin cutting down one side of the backbone, staying as close to the bone as you can. As you cut, you will be separating it from the ribs. Then repeat the same thing all the way down the other side of the backbone.
- Once you have removed the backbone, flip the chicken over and open it up, like a butterfly. The legs will now start to face out toward the inside.
- Now use the palm of your hand to firmly press down along the breast bone. You may hear a crack, which is good. You are breaking the breast bone slightly to be able to flatten out the chicken completely.
- That’s it! You spatchcocked a chicken! Now it’s time to season and roast.
Side Dishes to Serve with Roasted Chicken
This is such a versatile protein to pair with lots of different side dish options!
- Spaghetti Squash Boats with Kale Pesto & Vegan Parmesan
- Crispy Baked Zucchini Fries
- Spinach & Goat Cheese Stuffed Portobellos
- Savory Zucchini Muffins
- Vegan Mac & Cheese with Poblano
- Spicy Roasted Bok Choy
- Smashed Potatoes with Sour Cream & Chive Dip
- Wild Rice Salad with Pecans & Golden Raisins
- Paleo Herb Dinner Rolls
- Herb Roasted Carrots & Beetroot
- Roasted Cauliflower & Chickpeas with Dijon Vinaigrette
Ways to use a Roasted Chicken
- Sheet Pan Dinner -> Spatchcock Chicken with Potatoes & Onions
- Creamy Chicken & Rice Soup
- Chicken Chopped Salad with Roasted Chickpeas
- Stuffed Red Potatoes with BBQ Chicken & Goat Cheese
- You can also use it in tacos, quesadillas, throw it on top of a salad, and shred it into soups!

I hope this tutorial is helpful! You will be spatchcocking and roasting a whole chicken in no time!
The Perfect Roasted Chicken
Ingredients
- 4-5 lb whole chicken
- 3-4 tbsp olive oil (or butter)
- 1 tsp salt
- 1/2 tsp black pepper
- 3 cloves of garlic
- 2 tbsp fresh thyme (plus a few sprigs for the inside)
- 2 lemons
Instructions
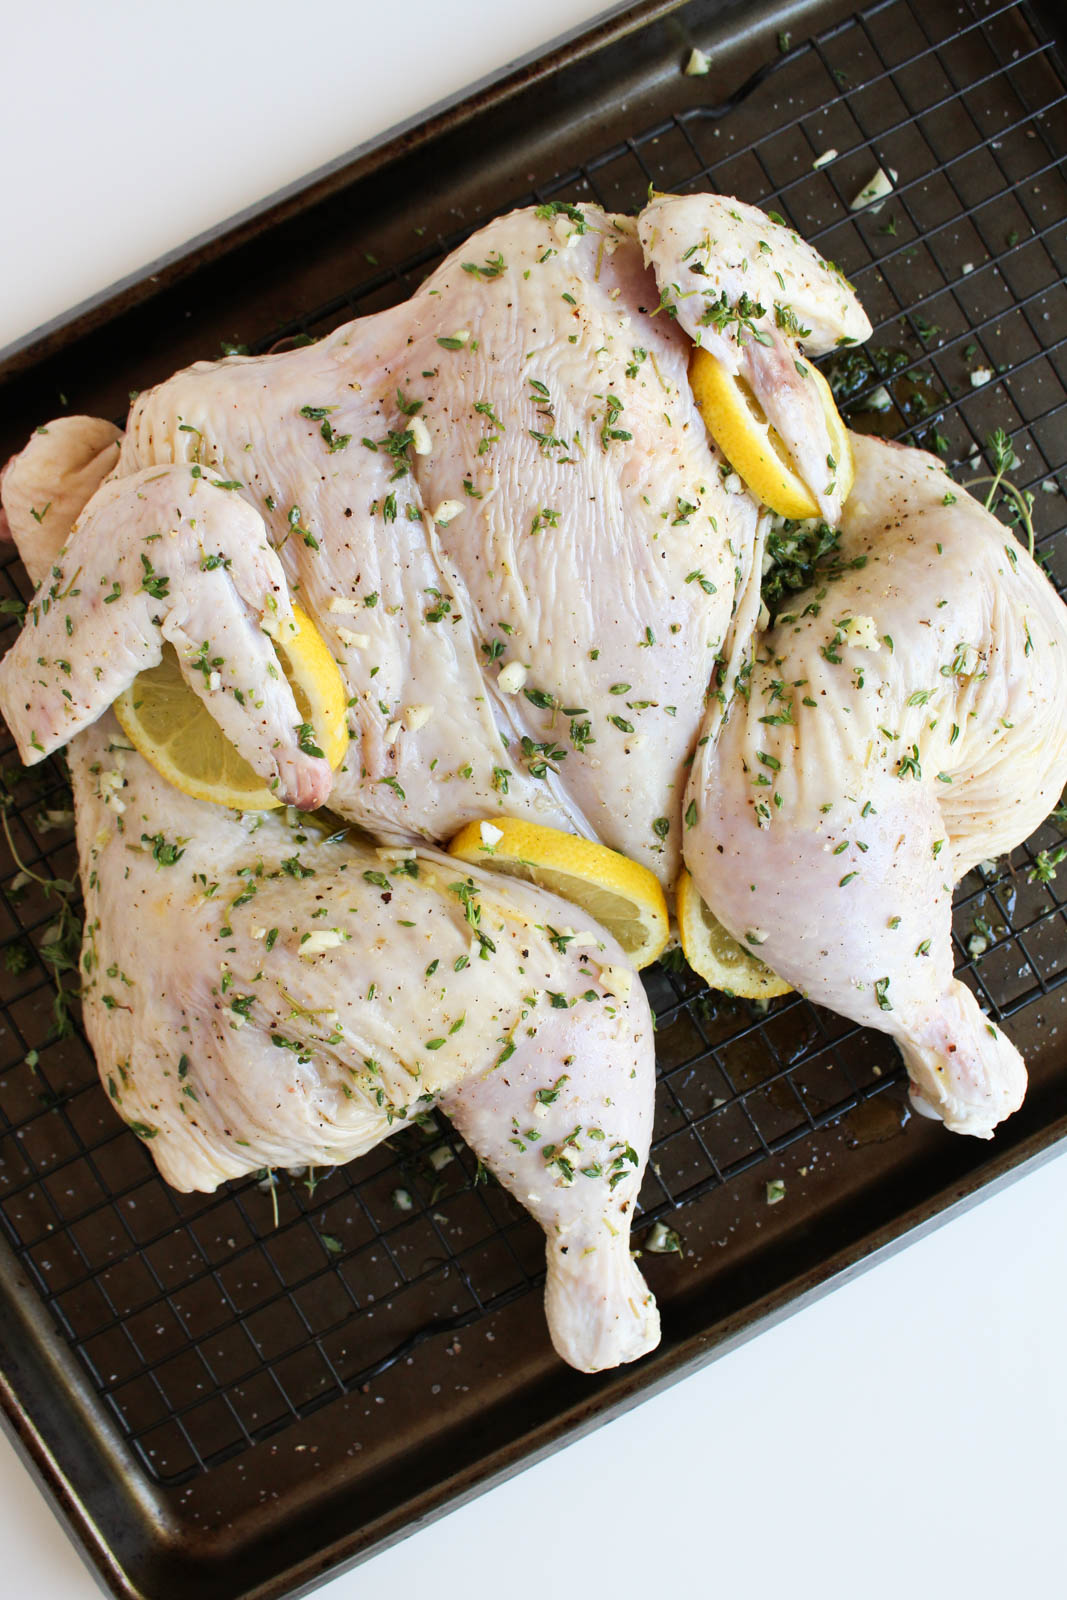
- Preheat the oven to 425 degrees. Prep the chicken by spatchcocking it and laying it flat on a large baking sheet or roasting pan with a wire rack. (see instructions above for tutorial on how to spatchcock a chicken)
- In a small bowl, mix together the salt, pepper, thyme, and 1 clove of finely chopped garlic.
- Drizzle the olive oil all over the chicken, and sprinkle your seasoning over the top. Use your hands to really massage the chicken to get the seasoning and oil on the entire surface.
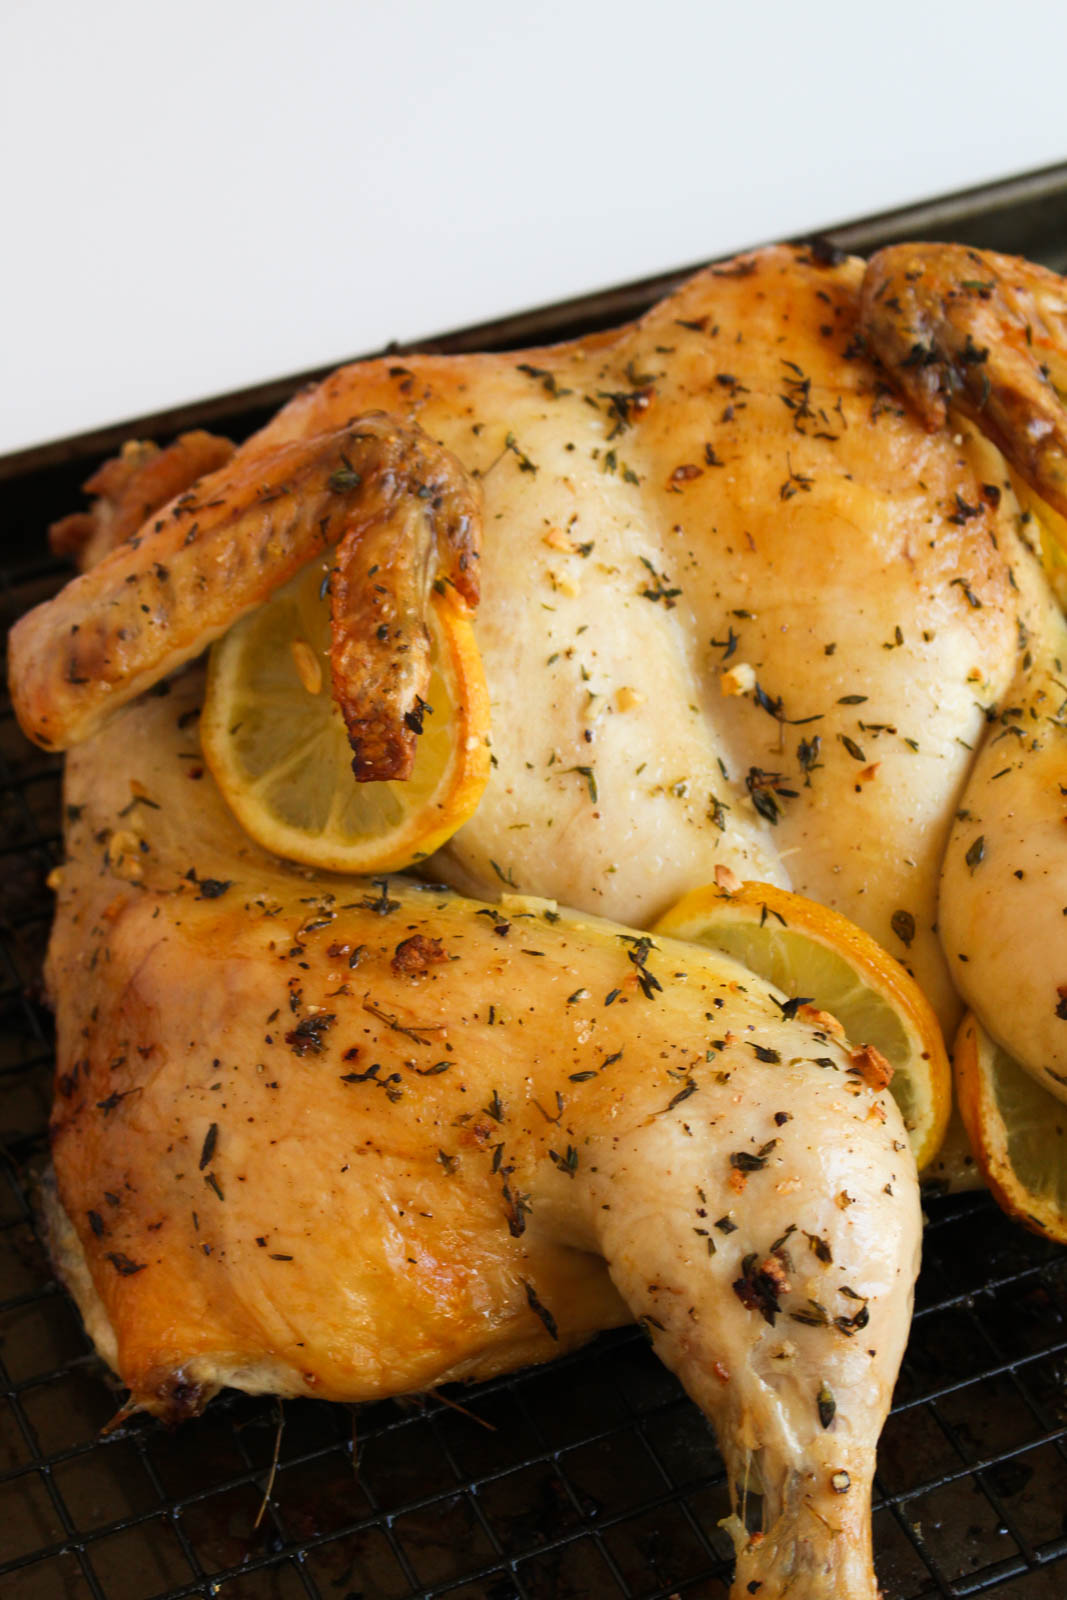
- Cut one of the lemons in quarters, and place the lemon wedges, 2 whole cloves of garlic, and a few sprigs of fresh thyme underneath the chicken. This will give a similar affect as stuffing the cavity if you were not spatchcocking. Cut the other lemon in thin slices and wedge a slice in between each of the wings and thighs.
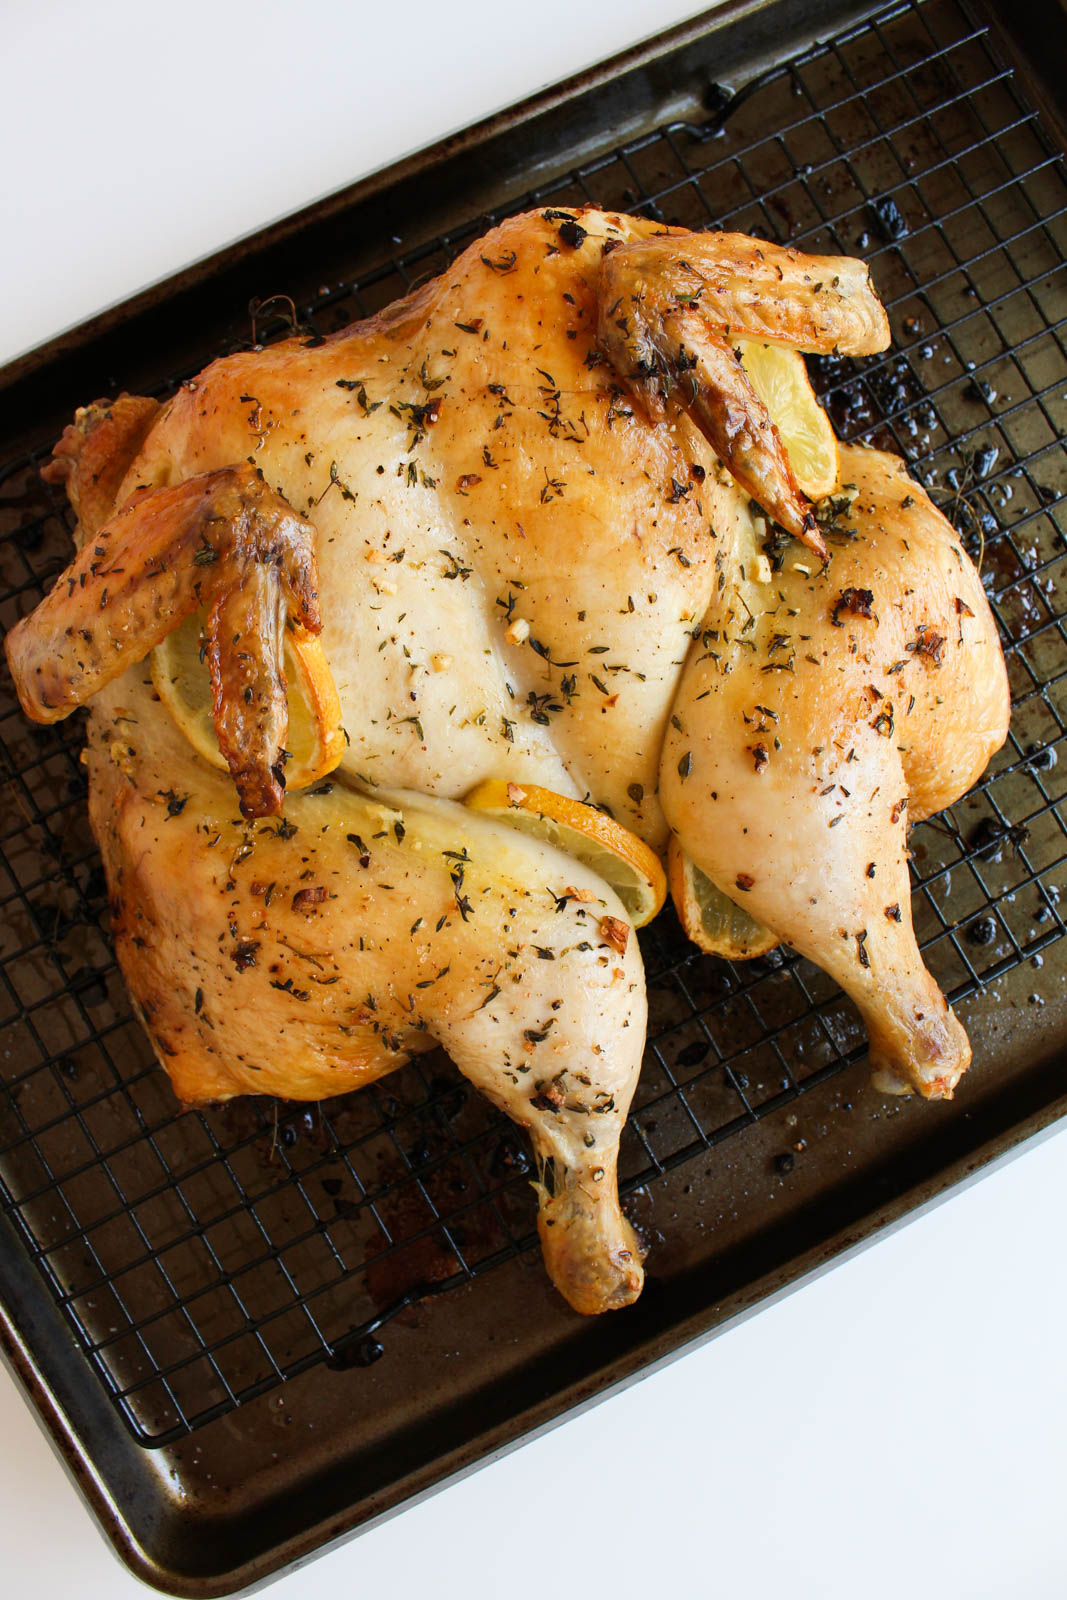
- Roast, uncovered, for 40-50 minutes. At the end, use a meat thermometer to check the temperature by inserting it between the breast and thigh, avoiding the bone. The temp should read 160 degrees.
- Take it out of the oven and let it rest for at least 15-30 minutes to let the juices redistribute. If you cut into it too early, you will end up with a dry chicken because the juices will run out onto the pan.
FOLLOW ALONG! Subscribe to my newsletter and follow along on Facebook, Instagram, and Pinterest for my latest recipes!
Did you love this recipe?
Leave a 5-star rating in the comments below!

I made this tonight and it was SO juicy and delicious! I decided to drizzle a little melted ghee on it as well and it was so tasty!!
This was my very first roast chicken and I feel very confident now haha 🙂
Thank you!
Oh I’m so glad you love it! It is my favorite way to cook a chicken 🙂