3-Ingredient Vegan Nutella
This simple, 3-ingredient Vegan Nutella will be your new favorite treat! Perfect for baked goods, pancakes, waffles, toast, fruit, and more! It comes together in less than 30 minutes, and only requires 3 ingredients!
This is the perfect topping for my gluten-free pumpkin spice pancakes, could be drizzled on top of my 2 ingredient coconut yogurt, and even blended into your iced latte!
Finally, a DAIRY-FREE Nutella!
When I was a kid, I could eat Nutella by the JAR spoonful. I mean, I could probably do that with pretty much any nut butter, but Nutella is something special. I have never met anyone who doesn’t love Nutella spread on just about everything. But there is just one problem for people with food sensitivities, there is dairy in it.
Traditional Nutella that we buy in our grocery stores has milk in it. Everyone is entitled to enjoy a delicious chocolate hazelnut spread on their toast in the morning, so if you are sensitive to dairy, then you can easily make your own!
Ingredients in Dairy-Free Nutella
- HAZELNUTS – you roast the hazelnuts for a few minutes to loosen up the skin and warm up the oils.
- DAIRY-FREE CHOCOLATE CHIPS – I used Enjoy Life chocolate chips, but you can use any brand of dairy-free chips you want.
- SEA SALT – The salty sweet combination can’t be missed in this recipe! You need that salt to bring out all of that great chocolate flavor.
That’s it! Just 3 ingredients!
You don’t need to add lots of extra oils and sugar if you get your hazelnut butter niiiiice and creamy.
How To Make Homemade Nutella
This recipe is simple, and really only takes about 30 minutes, start to finish. You just need a good food processor or blender (and some patience) to make the hazelnut butter. It is easy to do, but can take a little while for the hazelnuts to turn into a creamy spread. Just have a little patience, and it will happen.
Then melt the chocolate, and blend it in. DONE!
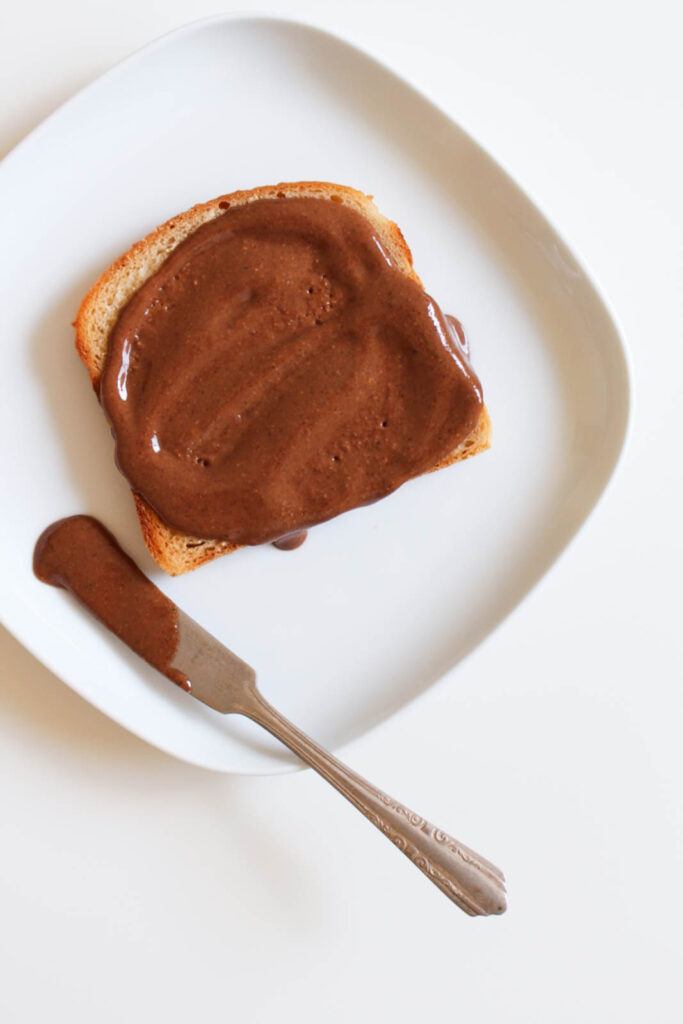
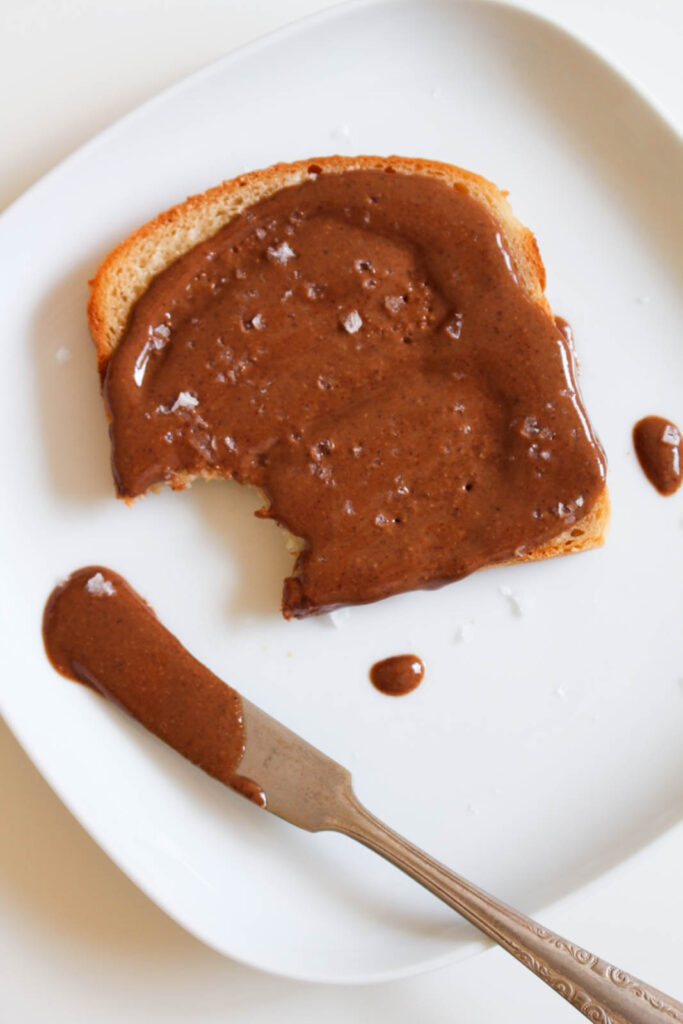
How to serve…
This homemade Nutella is dairy-free, gluten-free, much healthier than the original, and SO delicious. It won’t be hard to decide what to put it on, but let me give you some ideas…
Apple Chai Spiced Baked French Toast
Gluten-Free Sandwich Bread
Gluten-Free Banana Nut Bread
– or straight to the face!

3-Ingredient Vegan Nutella
Equipment
Ingredients
- 3 cups raw hazelnuts
- 2/3 cup dairy-free chocolate chips
- 1/2 tsp sea salt
Instructions
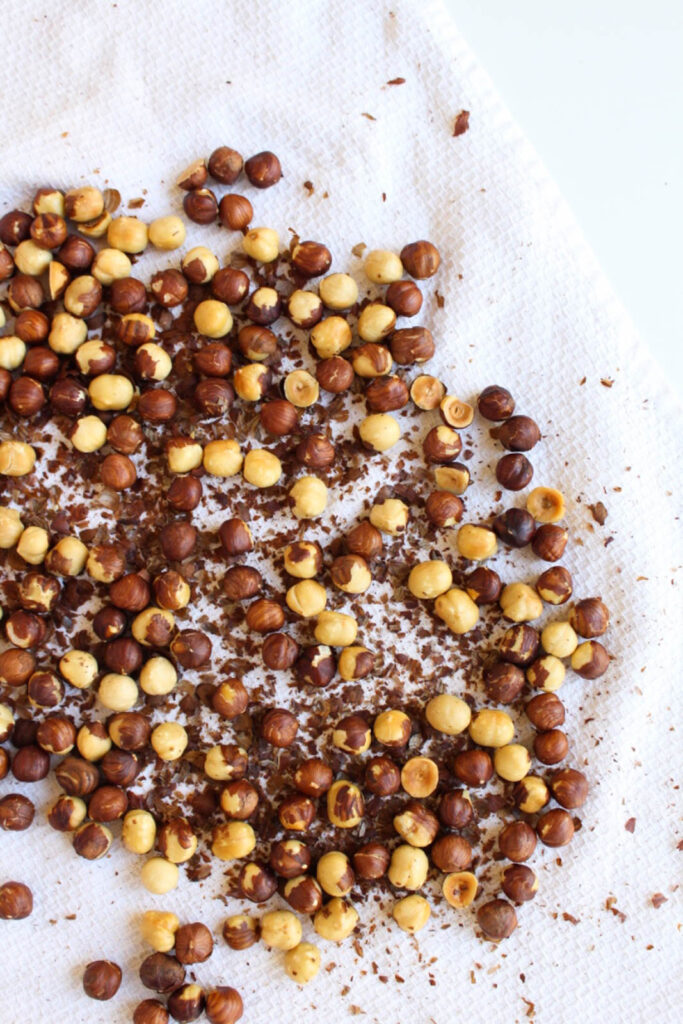
- Preheat the oven to 350 degrees. Place the hazelnuts on a large baking sheet (dry, with no oil) and roast for 12-14 minutes. Keep an eye on them to make sure they don't burn, they only need to be lightly toasted.
- Remove the nuts from the oven and allow them to cool for about 5 minutes. Lay a kitchen towel flat on the countertop, and transfer the nuts onto the towel. Fold the towel over the nuts and use your hands to roll the nuts around and remove the skin. This doesn't have to be perfect, just get as much of the skin off as you can.
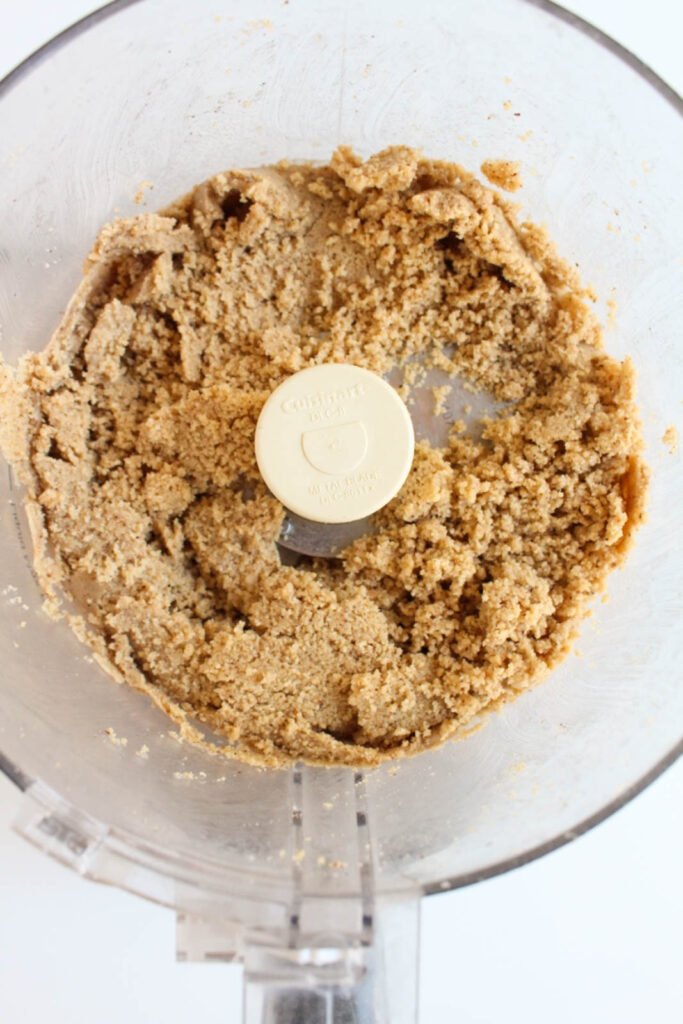
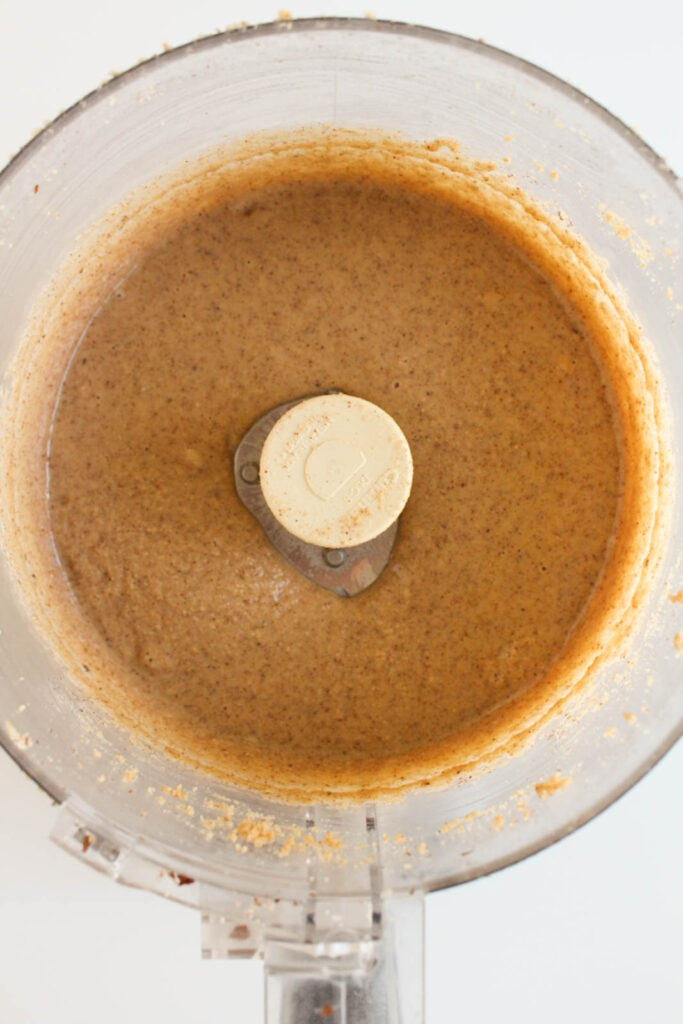
- Leave the excess skin on the towel, and transfer the nuts to a food processor. Blend until a butter is formed. This may take a while depending on your food processor. You will need to stop the processor and scrape down the sides every couple of minutes to keep things moving along. This will take 10-15 minutes.
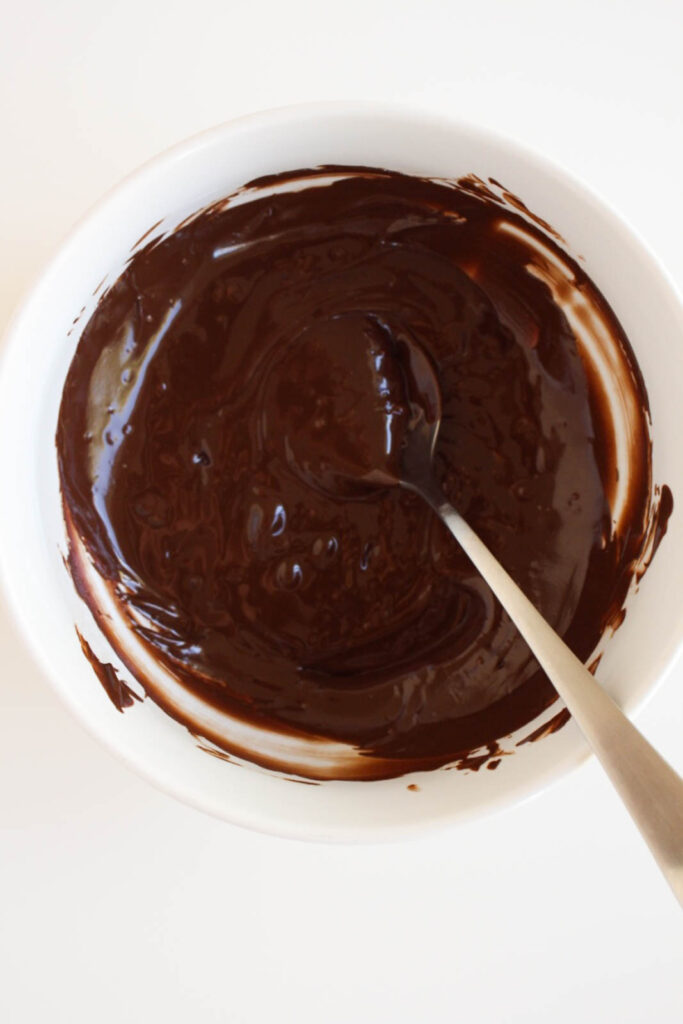
- Meanwhile, heat the chocolate over a double boiler, or in the microwave at 30 second increments. Make sure you stir the chocolate often to prevent it from burning.
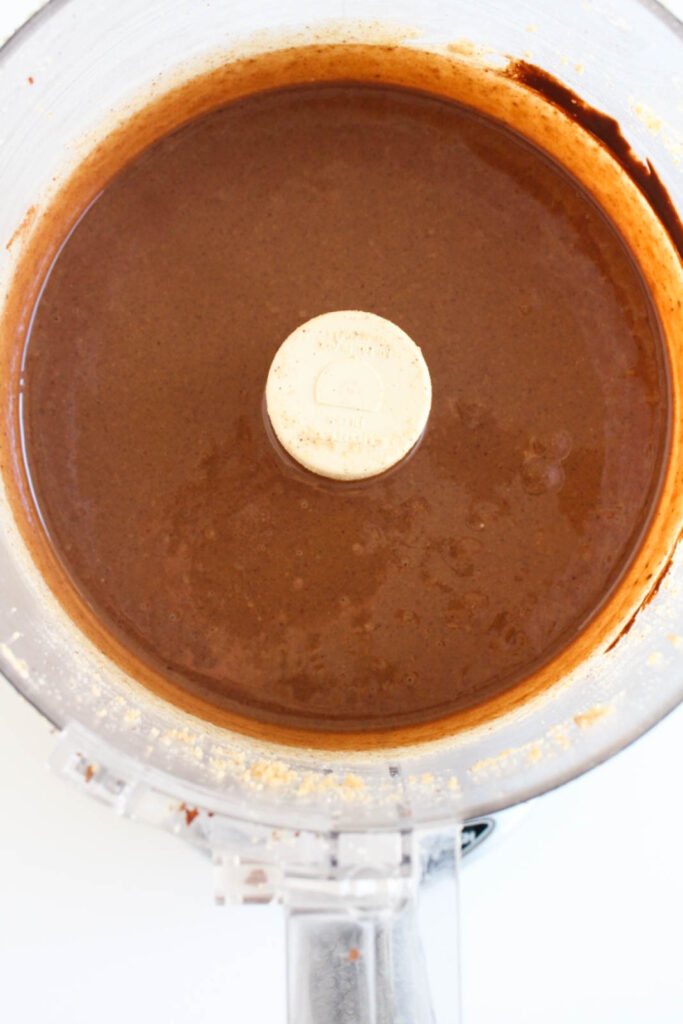
- Once you have a smooth and creamy hazelnut butter, add the melted chocolate and the sea salt to the food processor and blend for about 30 seconds.
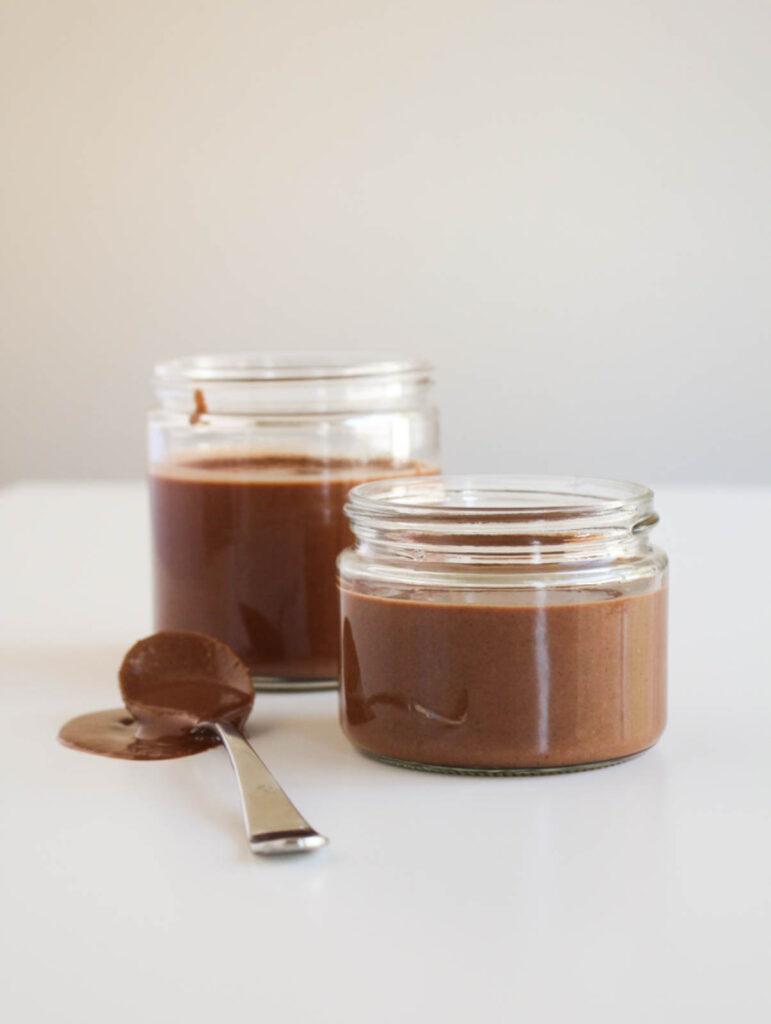
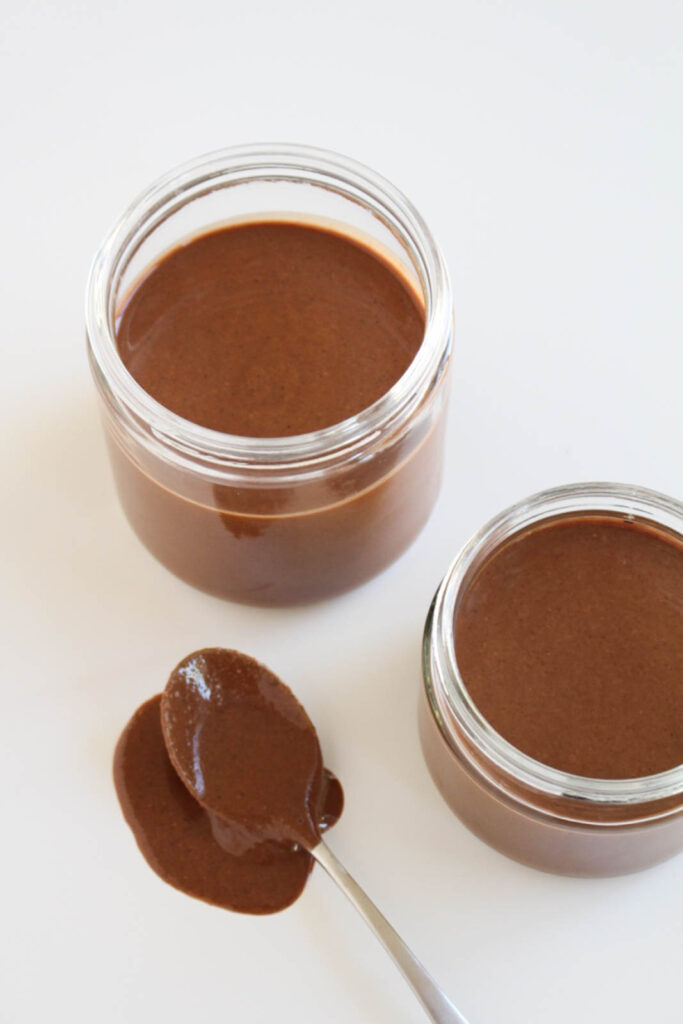
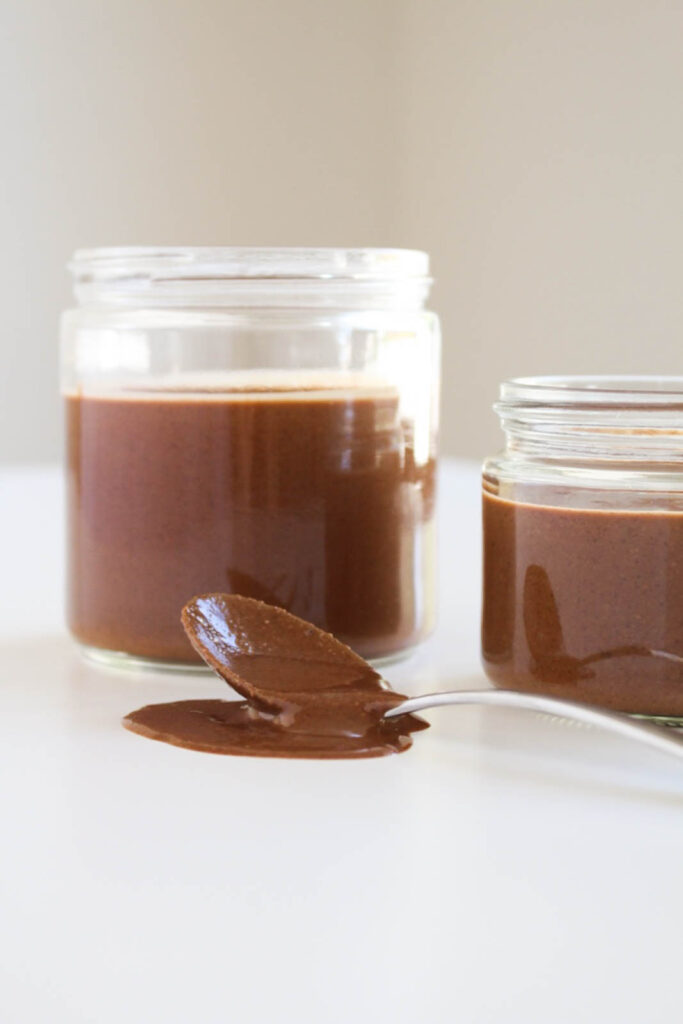
- Transfer to a clean jar and store at room temperature. You can also store it in the fridge, but just be prepared for it to harden a bit. This is not a problem, you will just have to heat it up for a few seconds if you want it to be spreadable.
FOLLOW ALONG! Subscribe to my newsletter and follow along on Facebook, Instagram, and Pinterest for my latest recipes!
Did you love this recipe?
Leave a 5-star rating in the comments below!

This looks amazing! I’ve missed Nutella like crazy since I stopped eating dairy. So glad to find this recipe!
I definitely missed it too until I made this recipe! It really does taste like the real thing 🙂
how long does it keep for? I’m excited to try this!
It will stay fresh in the fridge for about a month! I hope you like it! 🙂
Can you use normal dutch cocoa powder with this is or does it have to be cacao?
Dutch cocoa powder will work just fine 🙂