Gluten-Free Sandwich Bread
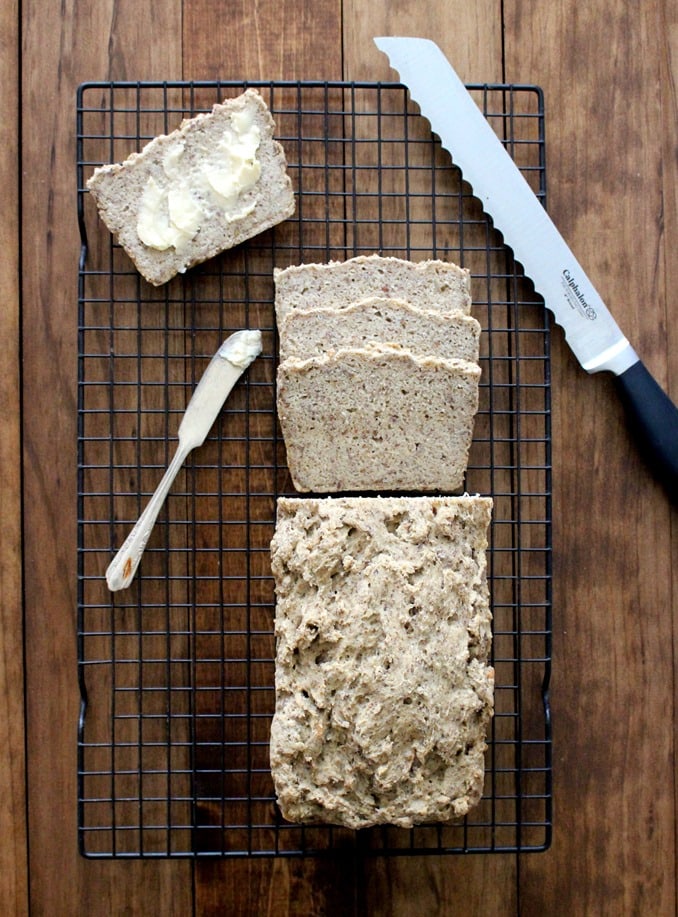
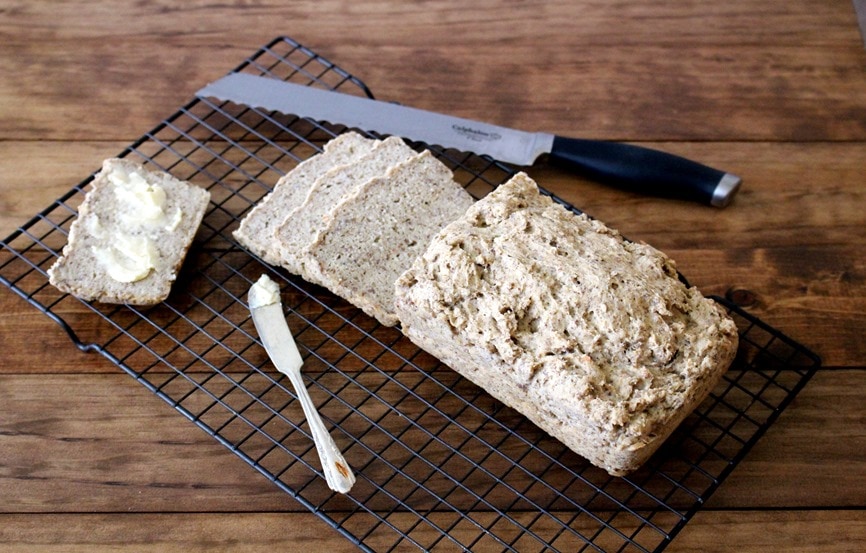
This Gluten-Free Sandwich Bread recipe is simple to make, and made with whole grains and flax seeds! It is soft and slightly dense on the inside, with a subtle crunch on the outside.
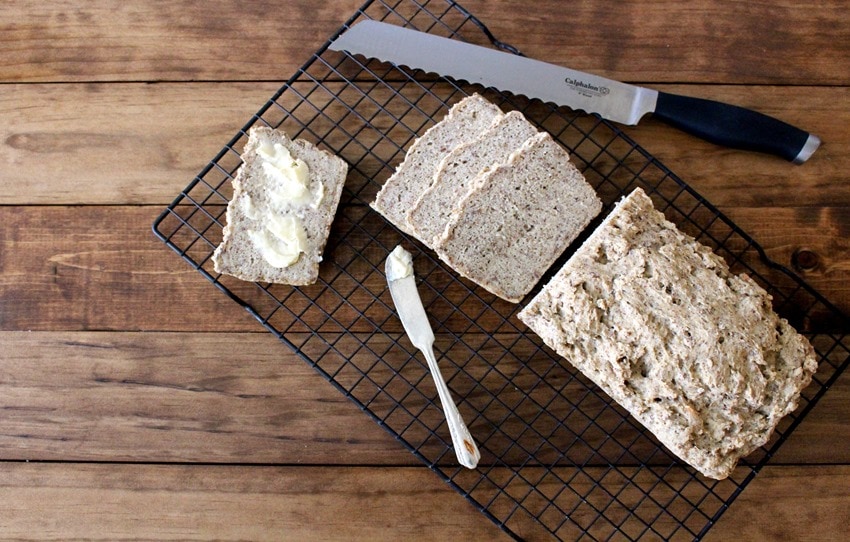
The most PERFECT Gluten-Free Sandwich Bread!
This is sure to become your new go-to bread recipe! It is simple, only takes a few ingredients, and is so FRESH! I love a bread that is soft on the inside, with a slightly crunchy crust on the outside. And that is exactly what this bread its!
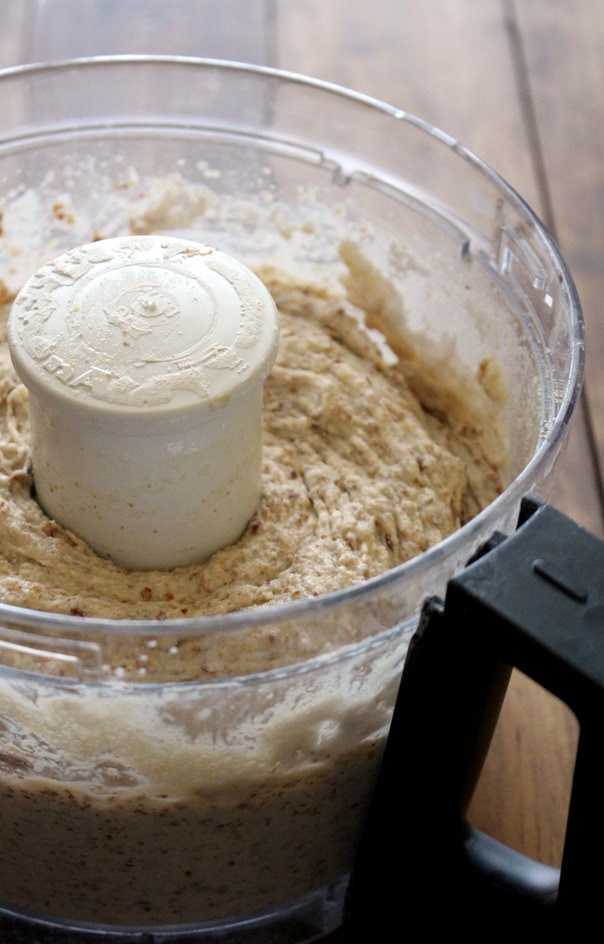
I have done A LOT of trial and error with gluten-free bread baking over the years, and this one is the clear winner! And the best part is that you can make it right in your food processor for easy clean up!
What is the best flour for gluten-free bread?
Just like regular bread is made from wheat flour, gluten-free bread is made from gluten-free whole grains like rice, sorghum, millet, etc. And many gluten-free breads are made with several different flours to make a baking mix. But not this one! I didn’t want this recipe to be complicated in any way, so we aren’t going to be mixing 12 different products together to make a mix.
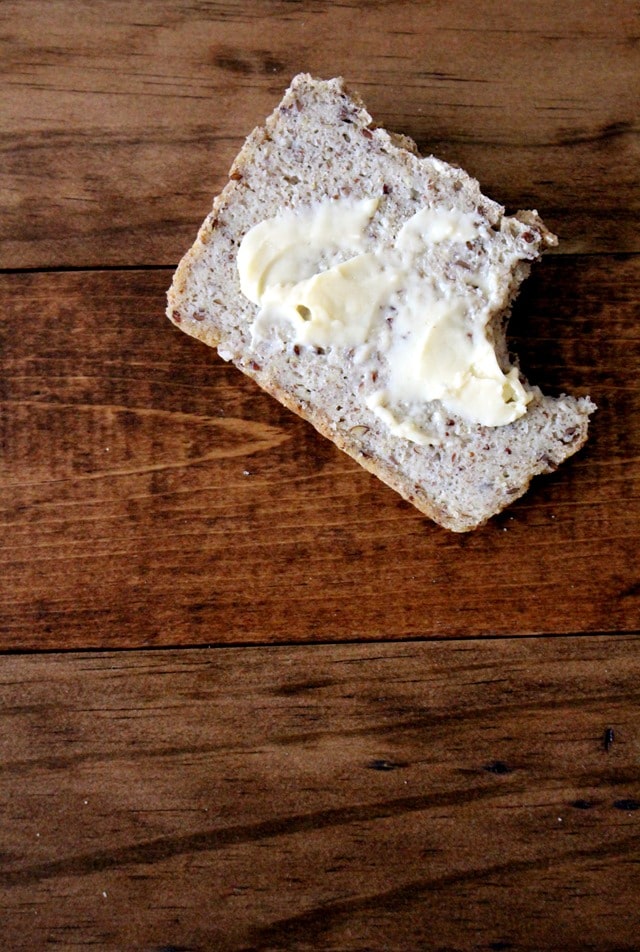
We are only using TWO flours! Brown rice and arrowroot starch! I used brown rice as the main flour component, and arrowroot starch as a binding and softening agent. I have also used cornstarch and tapioca starch in place of the arrowroot, and both worked well. I just happen to like the texture and consistency that the arrowroot gave to it. And just like any average bread recipe, it is yeast-risen, which makes it a perfect bread for sandwiches. I decided to throw a little flax meal in there, and it totally changed the game. It gives it a little bit of a nutty flavor, and I love that you can see the little specs of flax seed running through it.
How to Make Gluten-Free Sandwich Bread
Step 1 – In a medium sized bowl or measuring cup, add the sugar to the 1.5 cups of water and stir to dissolve. Then add the yeast and gently stir. Let it sit for 5-10 minutes, it will rise and get foamy.
Step 2 – While the yeast is rising, add the rice flour, arrowroot, flax, xantham gum, salt, oil, vinegar and egg whites to a large food processor with the S-blade attached.
Step 3 – Add the risen yeast to the mixture and process for about 10-20 seconds, until the dough starts to come together. It will be a little more wet and sticky than your average dough.
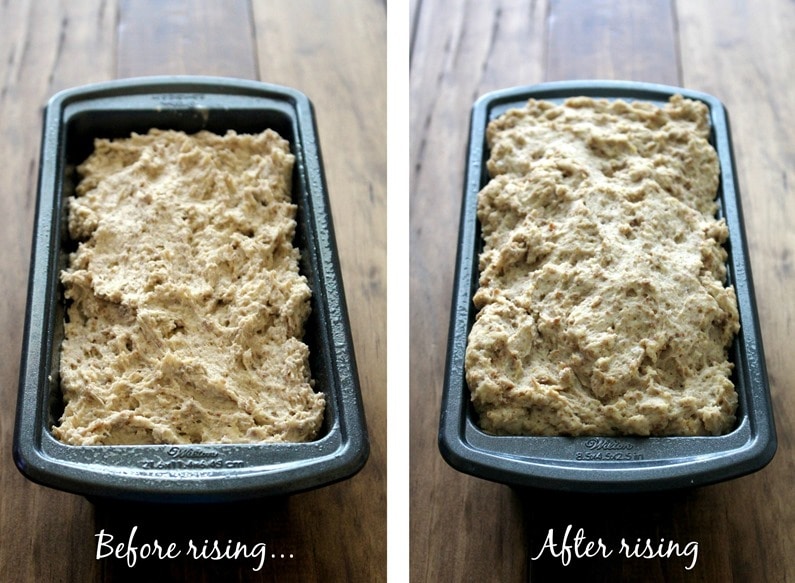
Step 4 – Spray a standard size loaf pan with cooking spray and pour the dough into the loaf pan.
Step 5 – Cover with a kitchen towel, set aside and let it rise for 1 1/2-2 hours.
Step 6 – When the dough is almost done rising, preheat the oven to 350 degrees.
Step 7 – Bake for 38-40 minutes, until slightly golden on top.
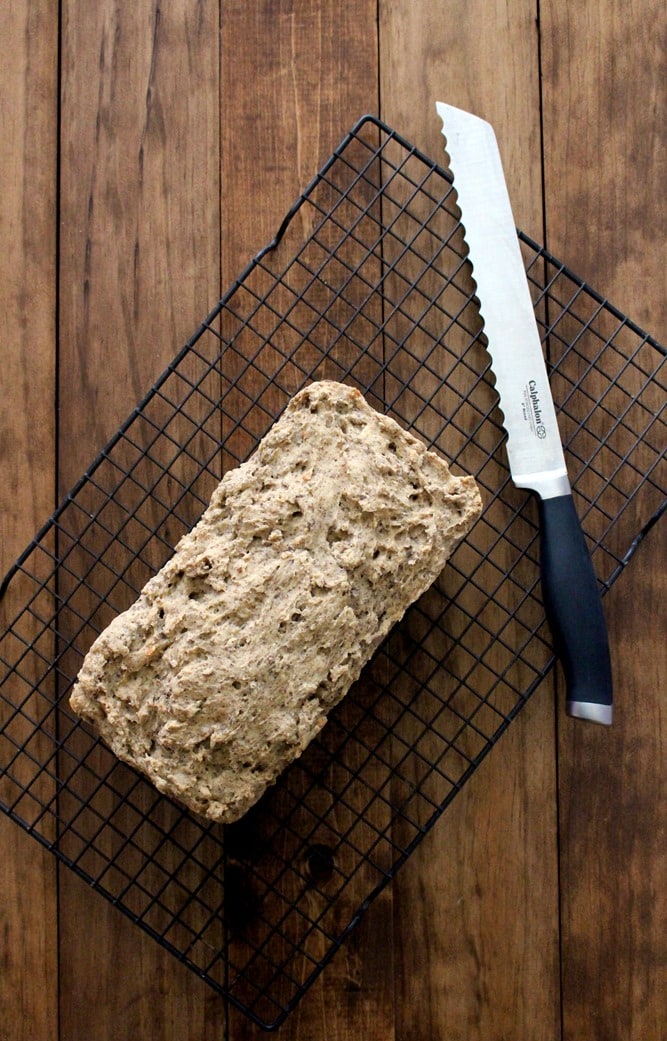
Step 8 – Let it cool in the loaf pan for 5-10 minutes before removing it. Then to finish cooling, carefully invert the pan upside down and let the bread sit on a cooling rack for at least 30 minutes.
- You can slice it when it is warm, but it is better to let it cool for a bit because it will be less crumbly.
Storage Instructions
You can store this bread at room temperature for up to 2 days, but then you will need to store it in the fridge, where is will last for about a week.
Make sure you put it in an airtight container, plastic wrap, or a bread bag. This will keep the moisture in and not let it dry out.
Tips for Baking Gluten-Free Bread
1. Work with room temperature ingredients. This goes for pretty much any kind of baking, because yeast likes a warm environment and will rise better and more quickly when your ingredients are at room temperature and not straight from the fridge. This does not just include the eggs, this also goes for the GF flours that are sometimes stored in the refrigerator to extend shelf life. Set the cold ingredients out on the counter at least and hour (preferably 2) before you begin baking.
2. Look for bread recipes that use eggs. I know that there are tons of vegans out there that are not too keen on this idea, but I’ve found that the bread rises better when I use eggs. Eggs are natural leaveners, so they help boost the volume of the bread. They also add moisture and protein to the bread. And of course, the best vegan alternative for eggs is usually flax eggs.
3. Use olive oil. Olive oil is full of healthy fats and adds a nice flavor to plain sandwich breads. It also adds moisture and extends shelf-life of your gluten-free breads.
4. The dough will be stickier than a regular non-GF dough. Gluten-free flours require more liquids than wheat flours to produce the same type of results. Your gluten-free bread batter should be too soft and sticky to knead but not as thin as cake batter.
5. Gluten-free bread batters need to be mixed much more than a traditional wheat batter. We are always taught to not overwork the dough, but you don’t have to worry about that with GF breads. There is no gluten to overwork. I don’t own a stand mixer, so I mix up this bread dough in a food processor with an S-blade, and it always comes out beautifully.
6. Xantham gum. If you want to have a traditional tasting bread, you need to use some kind of gluten substitute like xantham gum. It acts like the gluten in wheat flour. There are many all-purpose gluten-free flours that contain xantham gum, that would be for a recipe that you are using an AP flour.
7. Practice, practice, practice! It has taken me quite a while and countless baking failures to finally get the hang of gluten-free bread baking. It is not easy, but you can do it, especially if you are following a recipe exactly. Just be patient, and don’t give up if it doesn’t turn out perfect on the first try.
Gluten-Free Sandwich Bread
Ingredients
- 2 tbsp active dry yeast (equal to 2 packets)
- 1 ½ tbsp coconut sugar or cane sugar
- 1 ½ cups warm water
- 2 cups brown rice flour
- 1 cup arrowroot starch cornstarch & tapioca starch also work
- 1/2 cup flax seed meal
- 1 tbsp xantham gum
- 2 tsp sea salt
- 2 tbsp olive oil
- 1 tbsp apple cider vinegar
- 4 egg whites at room temperature
Instructions
- In a medium sized bowl or measuring cup, add the sugar to the 1.5 cups of water and stir to dissolve. Then add the yeast and gently stir. Let it sit for 5-10 minutes, it will rise and get foamy.
- While the yeast is rising, add the rice flour, arrowroot, flax, xantham gum, salt, oil, vinegar and egg whites to a large food processor with the S-blade attached.
- Add the risen yeast to the mixture and process for about 10-20 seconds, until the dough starts to come together. It will be a little more wet and sticky than your average dough.
- Spray a standard size loaf pan with cooking spray and pour the dough into the loaf pan.
- Cover with a kitchen towel, set aside and let it rise for 1 1/2-2 hours.
- When the dough is done rising, preheat the oven to 350 degrees.
- Bake for 38-40 minutes, until slightly golden on top.
- Let it cool in the loaf pan for 5-10 minutes before removing it.
- To finish cooling, carefully invert the pan upside down and let the bread sit in a cooling rack for at least 30 minutes.
Looking for more gluten-free bread recipes?
- Gluten-Free Flatbread
- Grain-Free Chocolate Coconut Banana Bread
- Socca Flatbread
- Grain-Free Cinnamon Banana Bread
FOLLOW ALONG! Subscribe to my newsletter and follow along on Facebook, Instagram, and Pinterest for my latest recipes!

My biggest problem with gluten-free bread is that it is slimy when you eat it. Is this one slimy?
If you have never noticed before that gluten free bread is slimy, then I apologize, as that’s all you’ll notice from now on.
No, I have never felt that this one is slimy. My favorite way to eat it is slightly toasted 🙂
I can’t have flax seeds, can I omit it? Should I replace it with something else?
I have never tried it without the flax seeds, so I can’t tell you with certainty. But I think it could work if you just replaced it with the same amount of brown rice flour. I hope that helps!