Gluten-Free Banana Nut Bread (dairy-free)
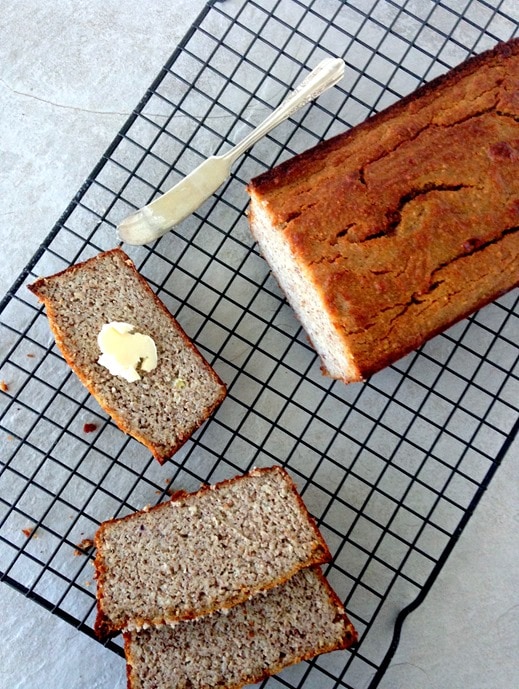
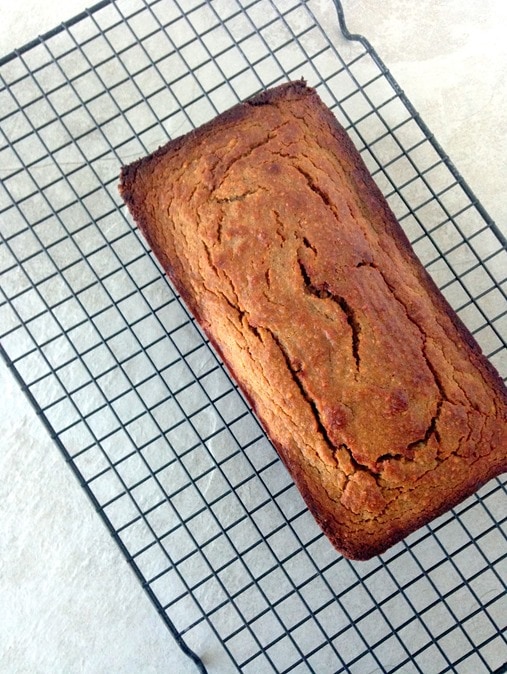
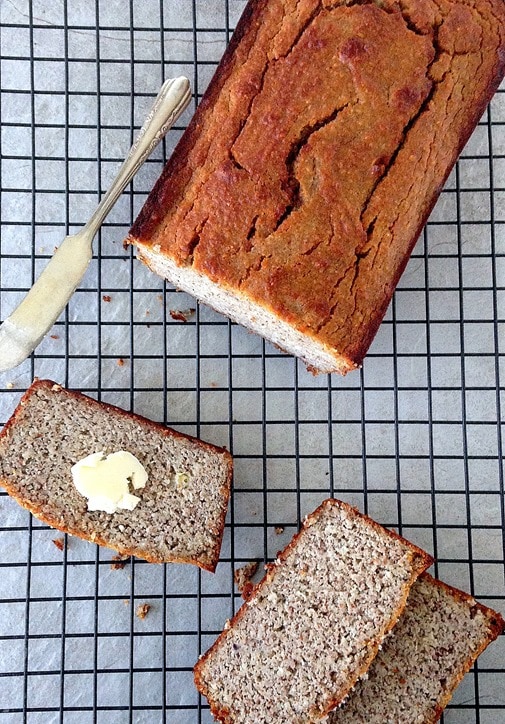
If you’re looking for a banana bread that is gluten-free, paleo, and dairy-free, this is the recipe for you! This Gluten-Free Banana Nut Bread recipe is moist, naturally sweetened, and full of flavor, It’s the perfect treat for breakfast, a snack, or even dessert.
This banana bread goes perfectly with a cup of coffee and my dairy-free salted caramel coffee creamer!

The Very BEST Gluten-Free Banana Nut Bread!
If you have ever made gluten-free sweet treats and baked goods, then you will likely have all of the ingredients for this recipe right in your pantry! The ingredients are simple, wholesome, and often used in many gluten-free and paleo baked goods.
Not only is this banana bread gluten-free, but it is paleo (which means is free from grains and flour mixes). We use almond flour and coconut flour in this recipe, making this bread a little bit higher in protein, which will help you feel full for longer and avoid those blood sugar crashes that can happen after eating treats. (if you’re looking for more paleo treats, you will LOVE my paleo german chocolate brownies!)
It is MOIST, fluffy, and is not overly sweet. The perfect amount of sweetness comes from very ripe bananas and pure maple syrup. Maple is my all-time favorite sweetener to use in baked goods because it lends the most amazing flavor! Then you have the warm cinnamon spice, along with the slight crunch from the walnuts running through it. PERFECTION.

Ingredients For GF Banana Nut Bread
- RIPE BANANAS – The riper, the better! Very ripe bananas will give you more sweetness and a stronger banana flavor.
- EGGS – Eggs keep the bread fluffy and bind the ingredients.
- MAPLE SYRUP – The maple flavor goes perfectly with the warm spices.
- ALMOND FLOUR – A very common flour to use in paleo baking, it adds fat and moisture and keeps it grain-free. I always have almond flour from NOW Foods stocked in my pantry because I use it so often.
- COCONUT FLOUR – I love the combination of coconut flour with almond because they balance each other out really well. Coconut flour is very absorbent, so it helps the batter not be too wet.
- CHOPPED WALNUTS – I love the crunch from the walnuts because it is a great contrast, but you can easily leave these out. Nuts and seeds are another thing that I always have stocked in my pantry (and freezer to keep them fresh!). I get all of my nuts and seeds from NOW Foods.
- VANILLA EXTRACT – Adds a nice depth of flavor.
- BAKING SODA & POWDER – We of course need these baking staples to help the bread rise.
- CINNAMON – The warm spice is so perfect in this banana bread, it goes perfectly with the banana and maple flavors.
- SEA SALT – You always need to add salt to sweet baked goods to counter balance the sweet, and bring out the flavors!


How to Make This EASY Gluten-Free Banana Bread
The best thing about this banana bread recipe is that you can mix it up in one bowl! Less dishes, less fuss, quick and simple!
Step 1 – Preheat the oven and prepare the pan
Preheat the oven to 350 degrees. Spray a standard size loaf pan with cooking spray, and then line the long end with parchment paper. This will make it easier to get it out of the pan after baking. You will probably need to cut it to fit the pan.
Step 2 – Mash the bananas
It is important to mash the bananas in a separate smaller bowl to be able to measure the amount. Bananas are all different sizes, so you are going to measure out 1 cup of mashed bananas.
Step 3 – Combine all of the ingredients
Combine all of the ingredients, except for the walnuts, in a large mixing bowl. No need to whisk the dry ingredients first. Just whisk all of the ingredients together until you don’t have any more clumps. Then add in the walnuts and use a spoon or spatula to mix them in.
Step 4 – Pour the batter into the loaf pan
Carefully pour the batter into a parchment lined loaf pan, smoothing out the top with a spoon or spatula.
Step 5 – Bake until golden!
Bake at 350 degrees for 40-50 minutes, until the loaf is golden brown on top and the bread is cooked through the center. You can stick a knife into the middle, and if it comes out clean then it is done.
Step 6 – Cool and enjoy!
After you remove the pan fro the oven, let it cool for at least 10 minutes before removing it from the pan. You can use a knife to loosen the ends, and then pull up on the parchment paper to transfer it to a wire rack. Let it cook for another 5-10 minutes before cutting into it so that it doesn’t crumble too much.

Tips & Tricks!
Use Ripe Bananas: The more ripe your bananas, the sweeter and more flavorful your bread will be.
Don’t Overmix: Stir the batter gently to keep it light and fluffy. Overmixing can cause the bread to become dense. Just stir until you don’t have any big clumps.
Check the Oven: Ovens vary, so check your bread a little early to avoid overbaking. Every oven is different, so a knife test is your best bet.
Storage: Store leftover banana bread in an airtight container at room temperature for up to 3 days, in the fridge for 5 days, or freeze slices for up to 3 months.
Variations to Try
- Add Berries: Swap the walnuts for fresh or frozen berries (blueberries or raspberries work great).
- Add Nut Butter: Stir in a couple of tablespoons of almond or peanut butter for a richer flavor.
- Make it Chocolatey: For a sweeter twist, try adding cocoa powder and extra chocolate chips. Or just swap the walnuts for chocolate chips!
Speaking of chocolate, these grain-free almond butter chocolate chunk cookies are AMAZING.

Thank you to NOW Foods for sponsoring this post! Their products are a staple in my kitchen, and I appreciate you supporting the brands that support The Wheatless Kitchen.
Gluten-Free Banana Nut Bread
Equipment
Ingredients
- 1 cup mashed bananas
- 1/4 cup maple syrup
- 3 eggs
- 3/4 cup almond flour
- 1/2 cup coconut flour
- 1/2 cup chopped walnuts
- 2 tsp vanilla extract
- 1 tsp baking soda
- 2 tsp baking powder
- 2 tsp cinnamon
- 1/2 tsp sea salt
Instructions
- Preheat the oven to 350 degrees. Spray a standard size loaf pan with cooking spray, and then line the long end with parchment paper. This will make it easier to get it out of the pan after baking. You will probably need to cut it to fit the pan.
- It is important to mash the bananas in a separate smaller bowl to be able to measure the amount. Bananas are all different sizes, so you are going to measure out 1 cup of mashed bananas.
- Combine all of the ingredients, except for the walnuts, in a large mixing bowl. No need to whisk the dry ingredients first. Just whisk all of the ingredients together until you don't have any more clumps. Then add in the walnuts and use a spoon or spatula to mix them in.
- Carefully pour the batter into a parchment lined loaf pan, smoothing out the top with a spoon or spatula.
- Bake at 350 degrees for 40-50 minutes, until the loaf is golden brown on top and the bread is cooked through the center. You can stick a knife into the middle, and if it comes out clean then it is done.
- After you remove the pan from the oven, let it cool for at least 10 minutes before removing it from the pan. You can use a knife to loosen the ends, and then pull up on the parchment paper to transfer it to a wire rack. Let it cook for another 5-10 minutes before cutting into it so that it doesn't crumble too much.
FOLLOW ALONG! Subscribe to my newsletter and follow along on Facebook, Instagram, and Pinterest for my latest recipes!
It has cinnamon in the title yet no mention of cinnamon — I can only guess 1 tbsp of cinnamon should be added? (at least that is what I will be adding)
Oh my goodness, I can’t believe I forgot the cinnamon in the ingredients list! Thank you for pointing that out, Sue. But yes, if you like a stronger cinnamon flavor, then use 1 tbsp. If you like it a little lighter on the cinnamon, use 2 tsp. Thanks again!
Thank you! So nice seeing gluten free recipes that don’t just call for “gluten free flour” … this looks delicious. Look forward to making it.
Just found your site! I’m excited! 🙂
Oh yay! I hope you like it! And I don’t always love those “gluten-free flour” recipes either. You never know what flour to use and they never turn out right. I just try to keep it simple 🙂
This bread was very moist. I had one little problem. The center was sunken. I have had this problem with another almond flour recipe. I’m pretty sure it was completely baked as the knife came out clean. Any ideas would be appreciated.
Regards, Betty
Hi Betty, thank you for making the recipe! I’m sorry it was a little too moist, this can happen sometimes with almond flour recipes because almonds have more fat in them than regular grain flours, which can result in too much moisture. Another thing that can have an impact is your oven. Everyone’s oven is a bit different when it comes to temperature and cooking times (it seems like it shouldn’t be that way, but it happens). So I would suggest trying to add 1-2 extra tablespoons of coconut flour next time to see if that helps! 🙂