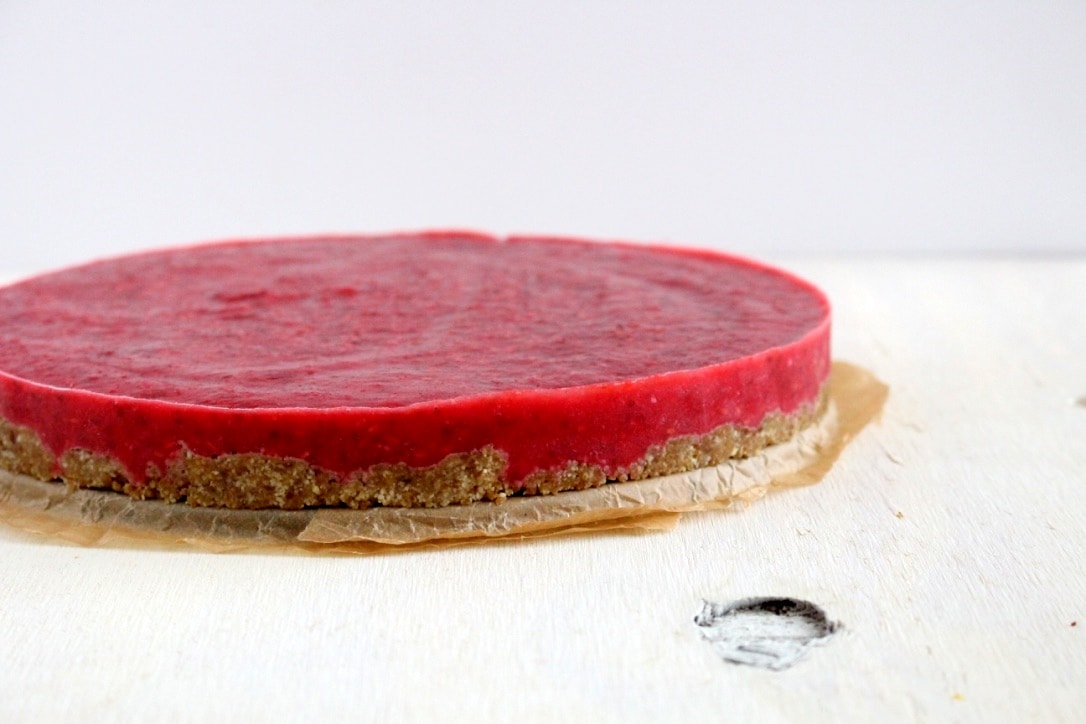
No-Bake Raspberry Tart with Coconut Whipped Cream
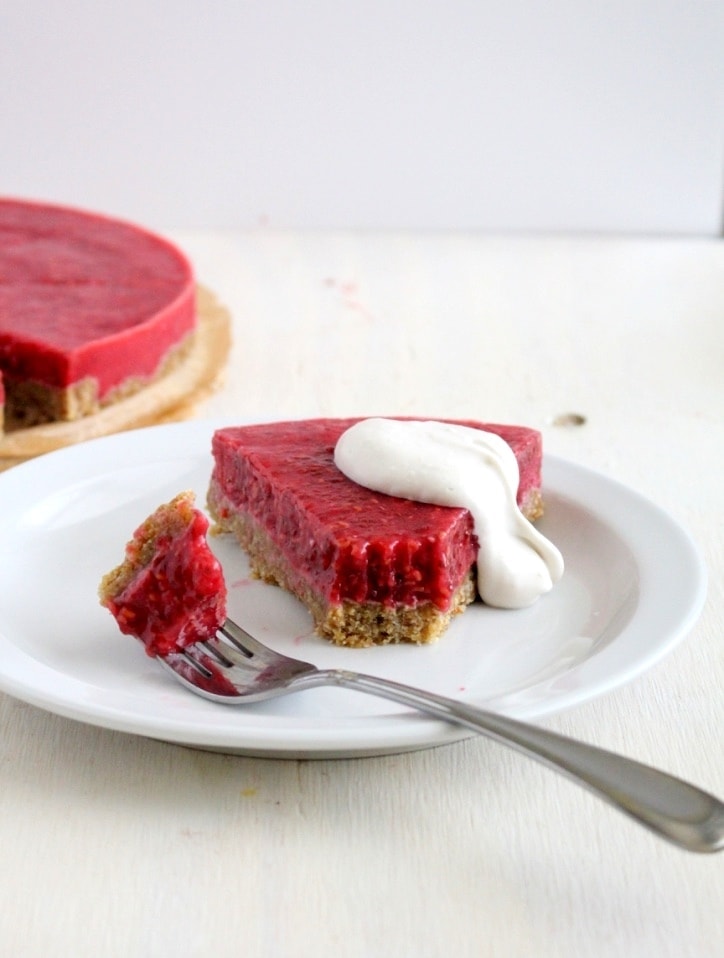
This delicious No-Bake Raspberry Tart with Coconut Whipped Cream is vegan, gluten-free, and doesn’t require you to turn on the oven! Made with wholesome ingredients, it’s the perfect healthy dessert for summer. Tart raspberries combined with a sweet and crunchy crust, and topped with a sweet and creamy homemade whipped cream!
One of my favorite things about summer is the berries! If you are looking for more berry recipes, you should definitely try these No-Bake Mini Berry Pies, this Strawberry Basil Smoothie, and these Strawberry Maple Scones!

No need to turn on the oven!
If you’re looking for a refreshing, simple and healthy dessert, this raw raspberry tart is the answer. Not only is it packed with fresh raspberries and natural sweetness, but it’s also vegan, gluten-free, paleo-friendly, and no-bake. Whether you’re making it for a summer picnic, dinner party, or just for a fun treat—you’ve got a winner.
Plus, it takes just 20 minutes to prep and requires no oven time. That means less heat in the kitchen and more time enjoying your creation.

You Only Need a Few Ingredients
- Cashews – I love cashews in this crust because they give a more neutral flavor and don’t overpower
- Medjool Dates – my favorite base for every raw crust or energy ball
- Sea Salt – you always need a little salty with your sweet flavors
- Fresh Raspberries – Raspberries are so perfect for this because you can easily smash them with a fork and don’t have to cook them down in a pan
- Chia Seeds – these help the raspberry filling thicken up to almost like a jam texture
- Maple Syrup – I love the natural sweetness that the maple brings
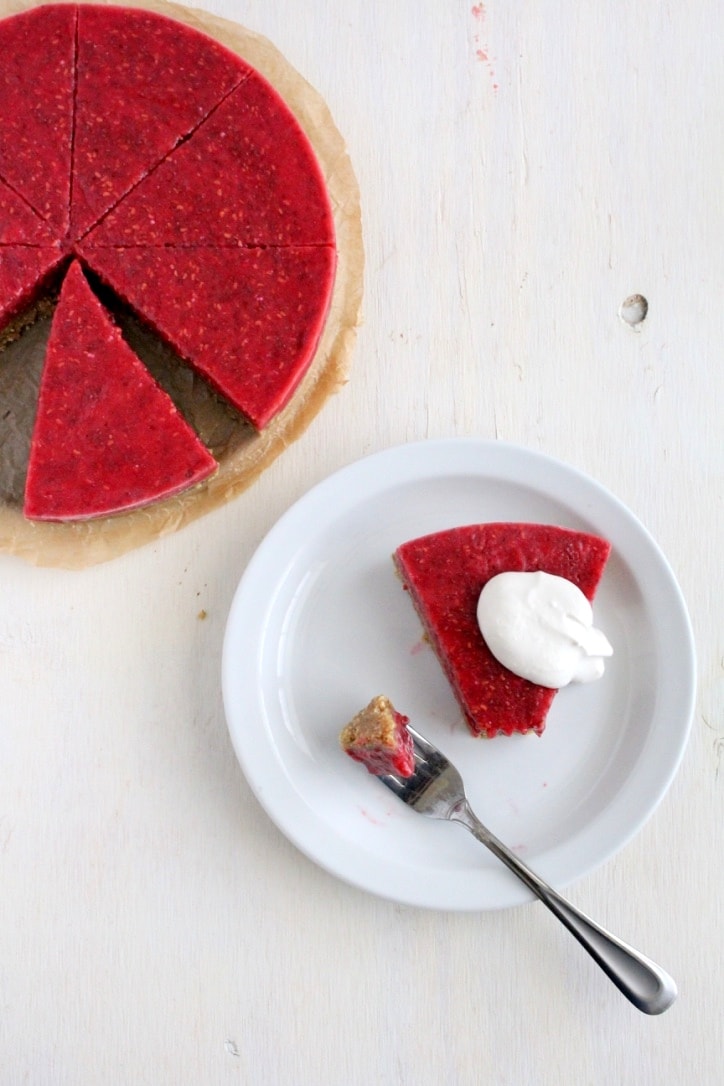
- Coconut Cream – You will get a much thicker whipped cream if you only use the cream from the coconut instead of the whole can of milk
- Vanilla Extract – to give the whipped cream some more flavor
How to Make a Raw Raspberry Tart (Step-by-Step)
Step 1 – Make the filling
To make the raspberry layer, add the raspberries, maple syrup and chia seeds to a large mixing bowl. Mash with a fork until the raspberries break up and the mixture becomes smooth. It should only take a couple of minutes if your raspberries are soft. Let the raspberry mixture sit in the fridge for about 30 minutes to thicken.
Step 2 – Mix up the crust
While the raspberry layer is chilling, make the crust layer. Add the cashews, dates, and salt to a food processor. Pulse until the dates and cashews break up and become a consistent doughy mixture. You should be able to squeeze it with your fingers and it stick together.
Step 3 – Assemble the tart
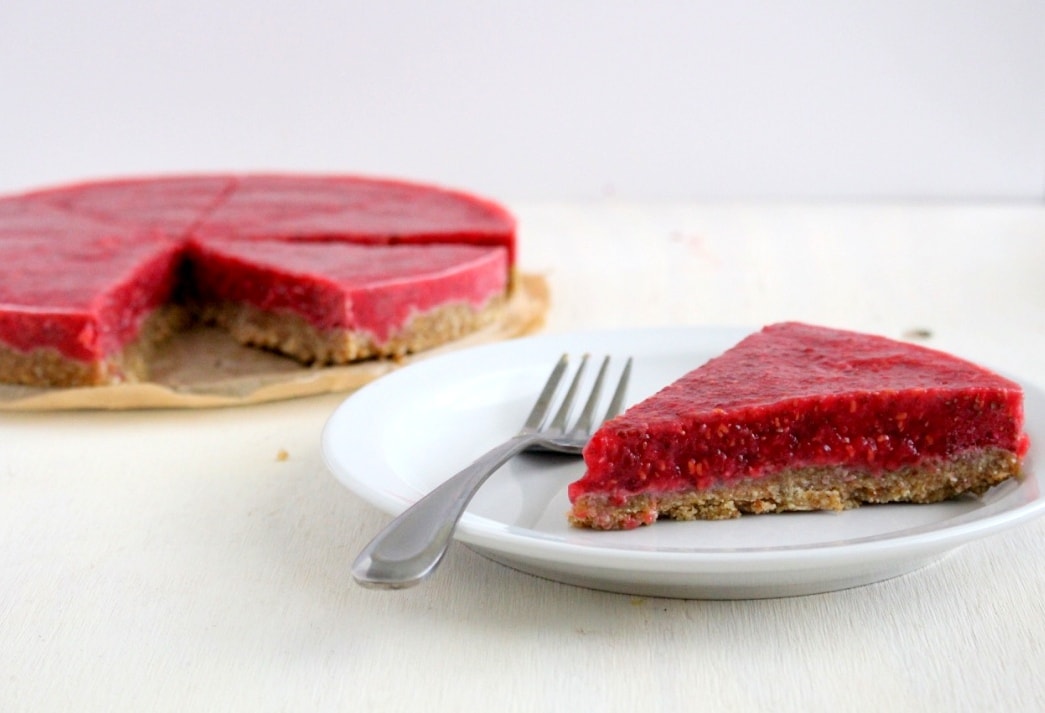
Add the crust mixture to the bottom of an 8-9 inch springform pan lined with parchment paper. Press down with your fingers to flatten and make even layer all the way to the edges. Pour the raspberry mixture over the crust and spread it out with a spatula or spoon. Place the tart in the freezer for at least 30 minutes (preferably an hour) before you serve. When the top layer of the tart is set, remove from the pan, cut and serve! Top with coconut whipped cream if desired.
Storage Tips & How to Serve
I prefer to store this tart in the freezer and just let it thaw out for about 5 minutes when you’re ready to serve. If you keep it in the fridge, the raspberry filling can get a little more runny and fall apart when you cut into it. It comes to the perfect consistency when you take it out of the freezer and serve if from there!
It will stay fresh in the freezer for up to a month!
Looking for more berry desserts?
- Blueberry Pie Bars
- Blueberry Banana Protein Muffins
- Paleo Blueberry Orange Scones
- Blueberry Donuts with Sweet Lemon Glaze
FOLLOW ALONG! Subscribe to my newsletter and follow along on Facebook, Instagram, and Pinterest for my latest recipes!
No-Bake Raspberry Tart with Coconut Whipped Cream
Ingredients
Crust
- 2 cup raw cashews
- 1 cup pitted medjool dates
- pinch of sea salt
Raspberry Filling
- 4 cup fresh raspberries
- 3 tbsp chia seeds
- 3 tbsp maple syrup
Coconut Whipped Cream
- 1 can coconut cream
- 1 tsp vanilla extract
- 2 tbsp maple syrup
Instructions
- To make the raspberry layer, add the raspberries, maple syrup and chia seeds to a large mixing bowl. Mash with a fork until the raspberries break up and the mixture becomes smooth. It should only take a couple of minutes if your raspberries are soft.
- Let the raspberry mixture sit in the fridge for about 30 minutes to thicken.
- While the raspberry layer is chilling, make the crust layer. Add the cashews, dates, and salt to a food processor. Pulse until the dates and cashews break up and become a consistent doughy mixture. You should be able to squeeze it with your fingers and it stick together.
- Add the crust mixture to the bottom of an 8-9 inch springform pan lined with parchment paper. Press down with your fingers to flatten and make an even layer all the way to the edges.
- Pour the raspberry mixture over the crust and spread it out with a spatula or spoon. Place the tart in the freezer for at least 30 minutes (preferably an hour) before you serve.
- To make the whipped cream, combine the coconut cream (it is important that you use only the cream, not the whole can of milk and water), vanilla, and maple syrup in a large mixing bowl. Use a hand mixer to beat the cream until it starts to thicken up and form stiff peaks. This should take 2-3 minutes.
- To serve, remove the tart from the springform pan and cut it into 8 even slices. Top with a dollop of whipped cream and serve!
Did you love this recipe?
Leave a 5-star rating in the comments below!

Holy moly this looks amazing! LOVE that it can all be done in the food processor, too. High-fives for less dishes 🙂 Hope the process of settling in goes smoothly — so exciting!!
Thanks girl! The move went well and we are officially in our house! Eek! Now for the unpacking…