
Easy Paleo Pie Crust
If you’ve ever tried to make a paleo pie crust that’s actually flaky, buttery, you know it can be tricky! Most grain-free crusts turn out crumbly or dry. But this recipe changes everything.
This easy paleo pie crust is made with simple ingredients like almond flour and tapioca starch, and it works perfectly for sweet or savory pies. It’s gluten-free, grain-free, and freezer-friendly — making it your new go-to for holiday baking or Sunday meal prep.

Your New Go-To Pie Crust!
- Flaky texture: The combination of almond flour and tapioca starch gives that classic pie crust flakiness.
- Easy to work with: The food processor does the work for you and you don’t even need a rolling pin! You can press it right into the pan with your hands.
- Versatile: Great for sweet pies (like pumpkin or pecan) and savory ones (like quiche or chicken pot pie).
- Freezer-friendly: You can make it ahead and freeze the dough or baked crust. This will make your Thanksgiving and Christmas baking SO much easier! I currently have two of these crusts waiting for me in my freezer right now!

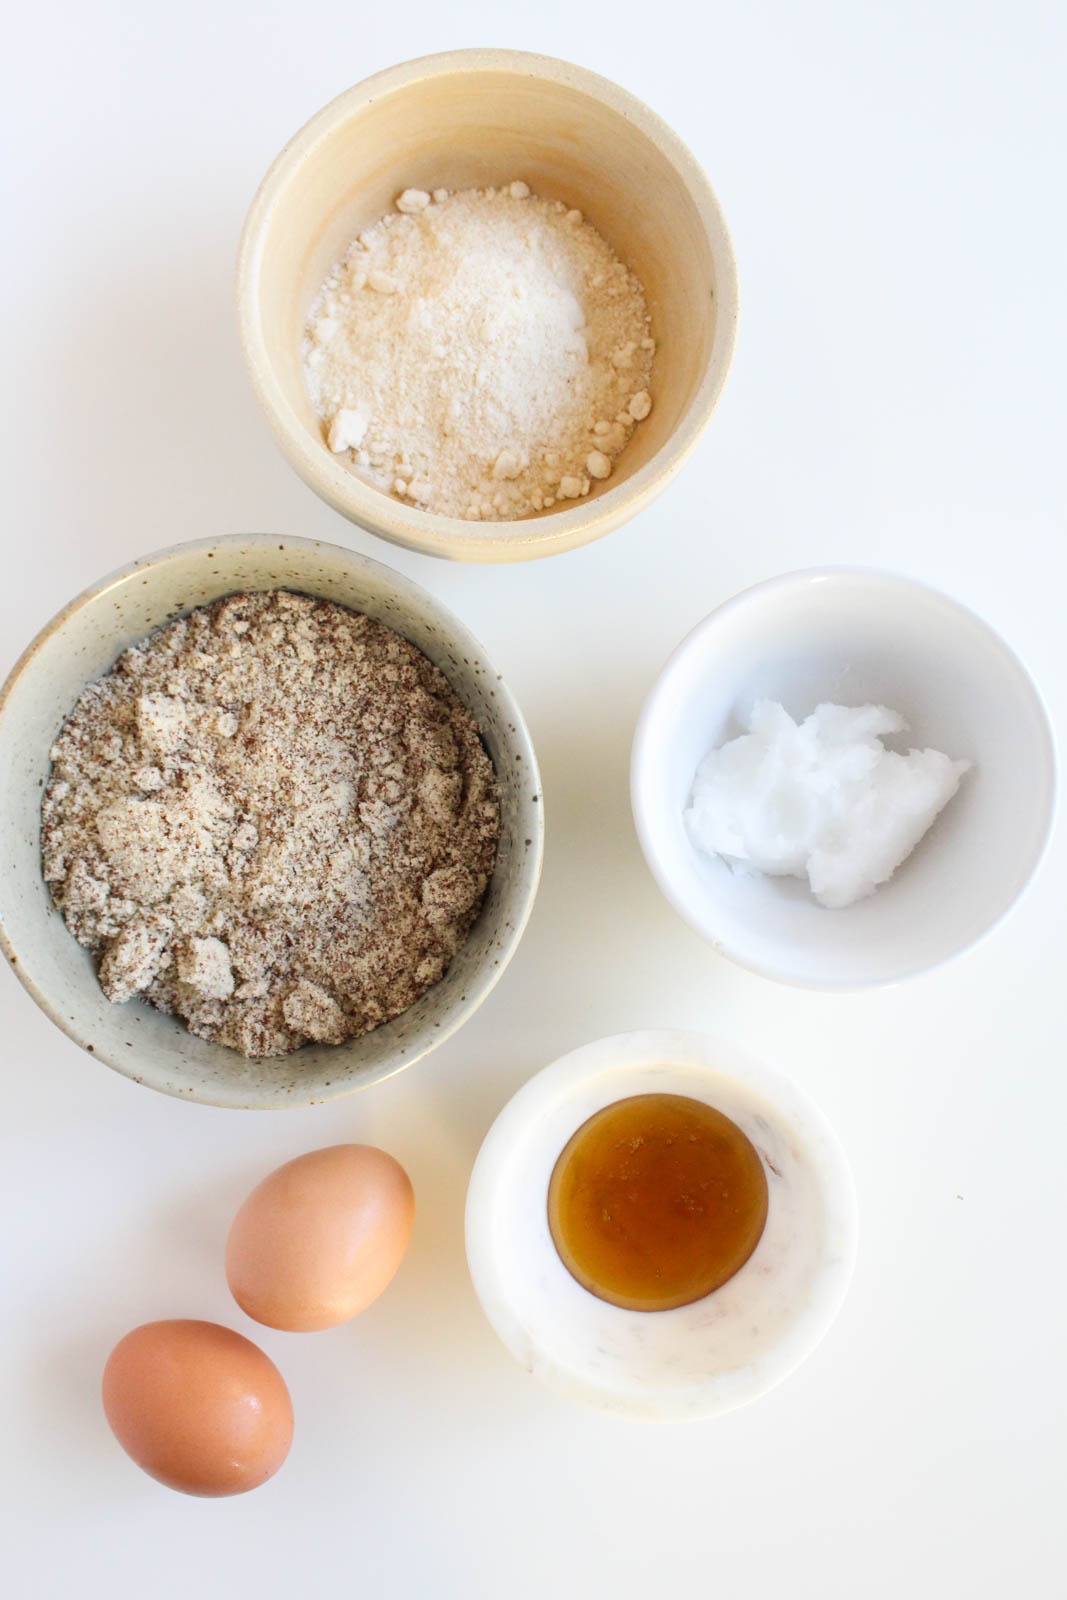
Ingredients You Need
- Almond flour – almond flour is the base for SO many paleo recipes, and this one is no exception.
- Tapioca flour – tapioca flour (also known as tapioca starch) helps the crust be more flaky and not as crumbly.
- Coconut flour – coconut flour helps offset some of the fat and moisture that the almond flour provides.
- Grass-fed butter – there really is no comparison to grass-fed butter in a pie crust, but you can also use coconut oil as a substitute if you want this to be dairy-free.
- Honey – the crust needs the slightest amount of sweetness, you will use more if you are making a sweet pie, and a little less if you are making a savory pie or quiche.
- Sea salt – no baking endeavor can go without salt!
- Egg – adds richness and holds the whole thing together.


How To Make The Perfect Paleo Pie Crust
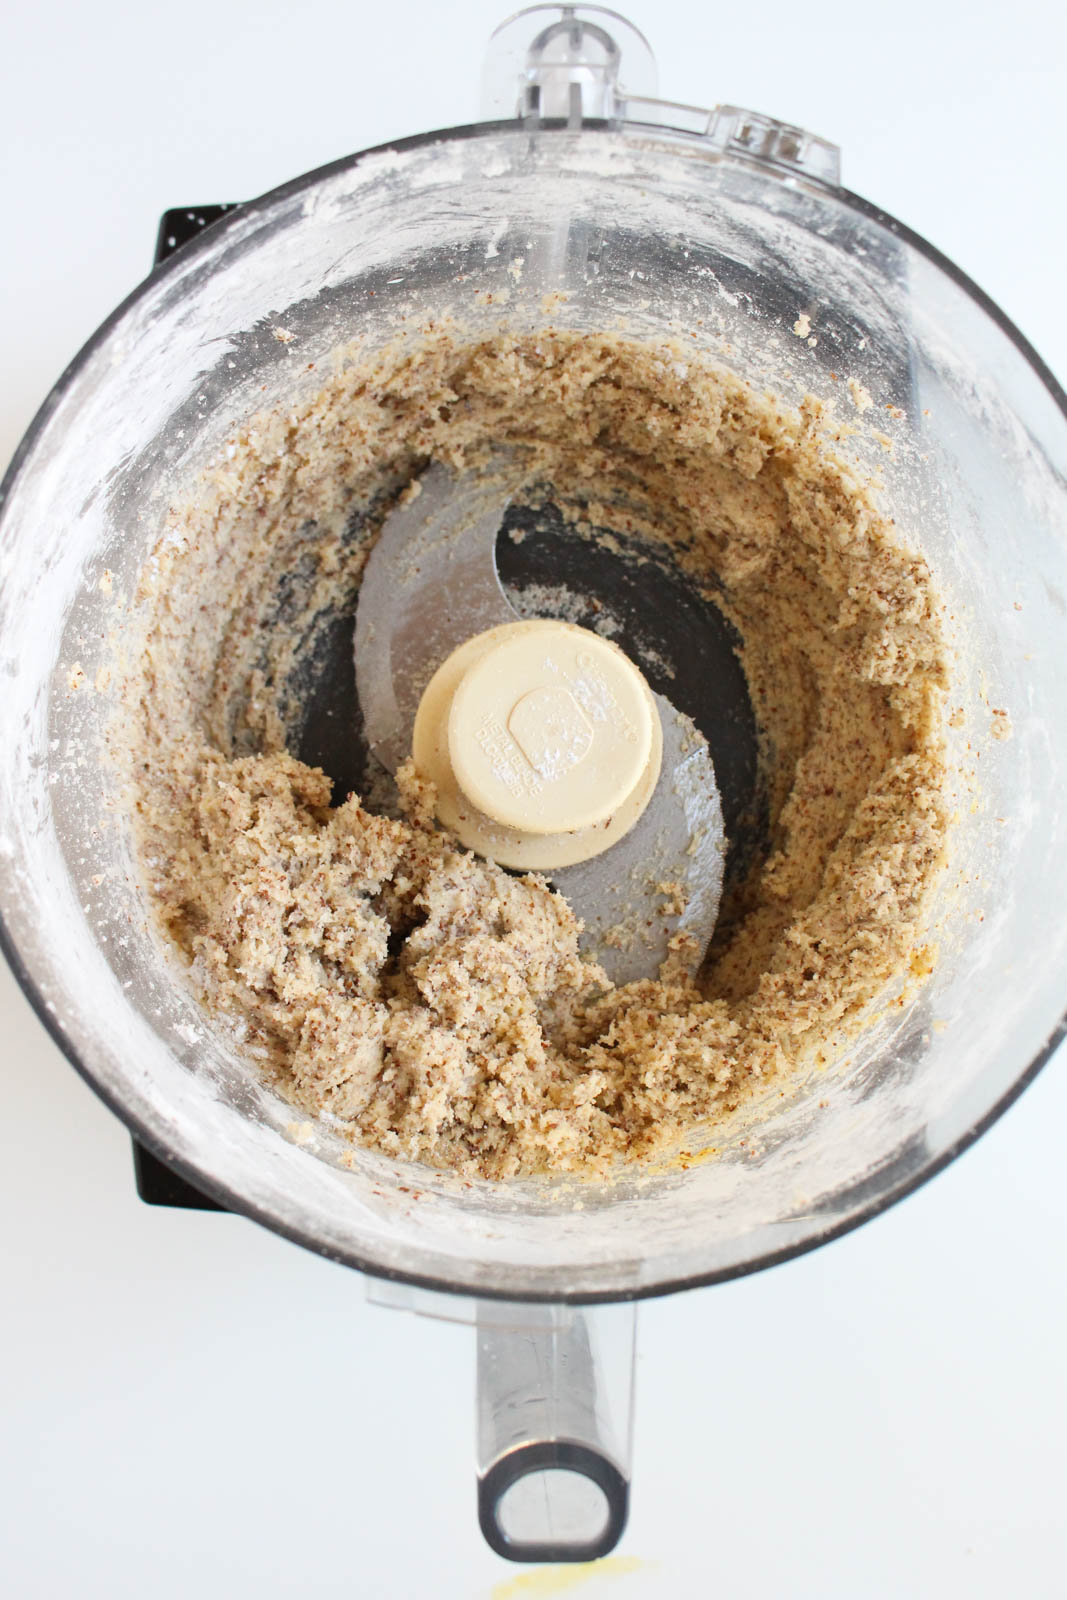
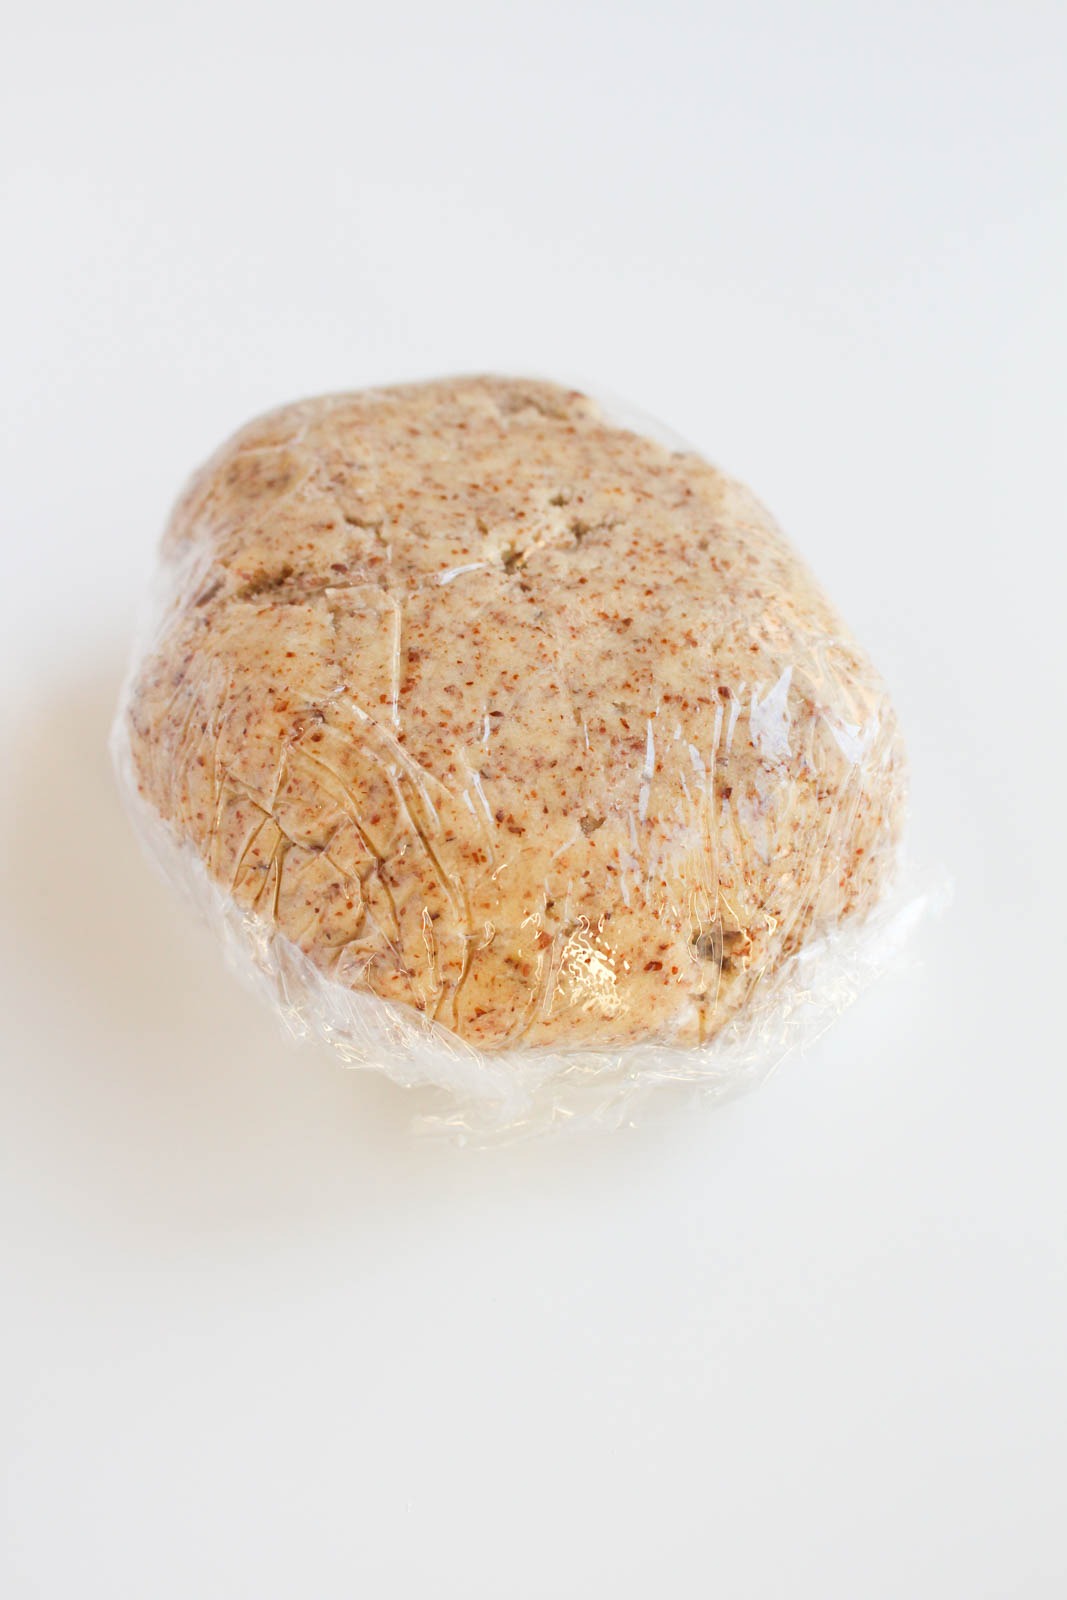
STEP 1 – In the bowl of a food processor, add all of the ingredients, then pulse until a dough forms. You can use a rubber spatula to scrape the dough out and place it onto a piece of plastic wrap that is laying flat on the counter. Gently form the dough into a ball, then wrap the plastic tightly around the dough. Let the ball of dough chill in the fridge for at least 20 minutes, preferably an hour.
If you let the dough sit overnight in the fridge until you’re ready to use it, then you can just set it on the counter to soften up for about 10 minutes before it goes into the pie pan.
STEP 2 – To get the dough into your pie dish, you can roll it out between two pieces of parchment paper and flip it into the pie dish, just like you would a traditional pie. But I personally like to press the dough into the pie dish because it can easily break doing it the other way.
So spray the dish with non-stick oil, or spread butter into the bottom of the dish. Place the dough ball in the middle of the pan, then use your fingers to press the crust evenly onto the dish with a piece of parchment paper so that your fingers don’t stick. (shown in a photo above)
STEP 3 – Once the crust is flat on the bottom and evenly distributed up onto the sides, pierce the bottom with a fork. Then bake at 375 degrees F for 15 minutes for a fully cooked crust. Only cook it for 6-8 minutes if you are par baking. You will still be able to add your pie filling and cook that without browning the edges too much. When you add the pie filling later, you can use a foil tent to prevent burning the edges.
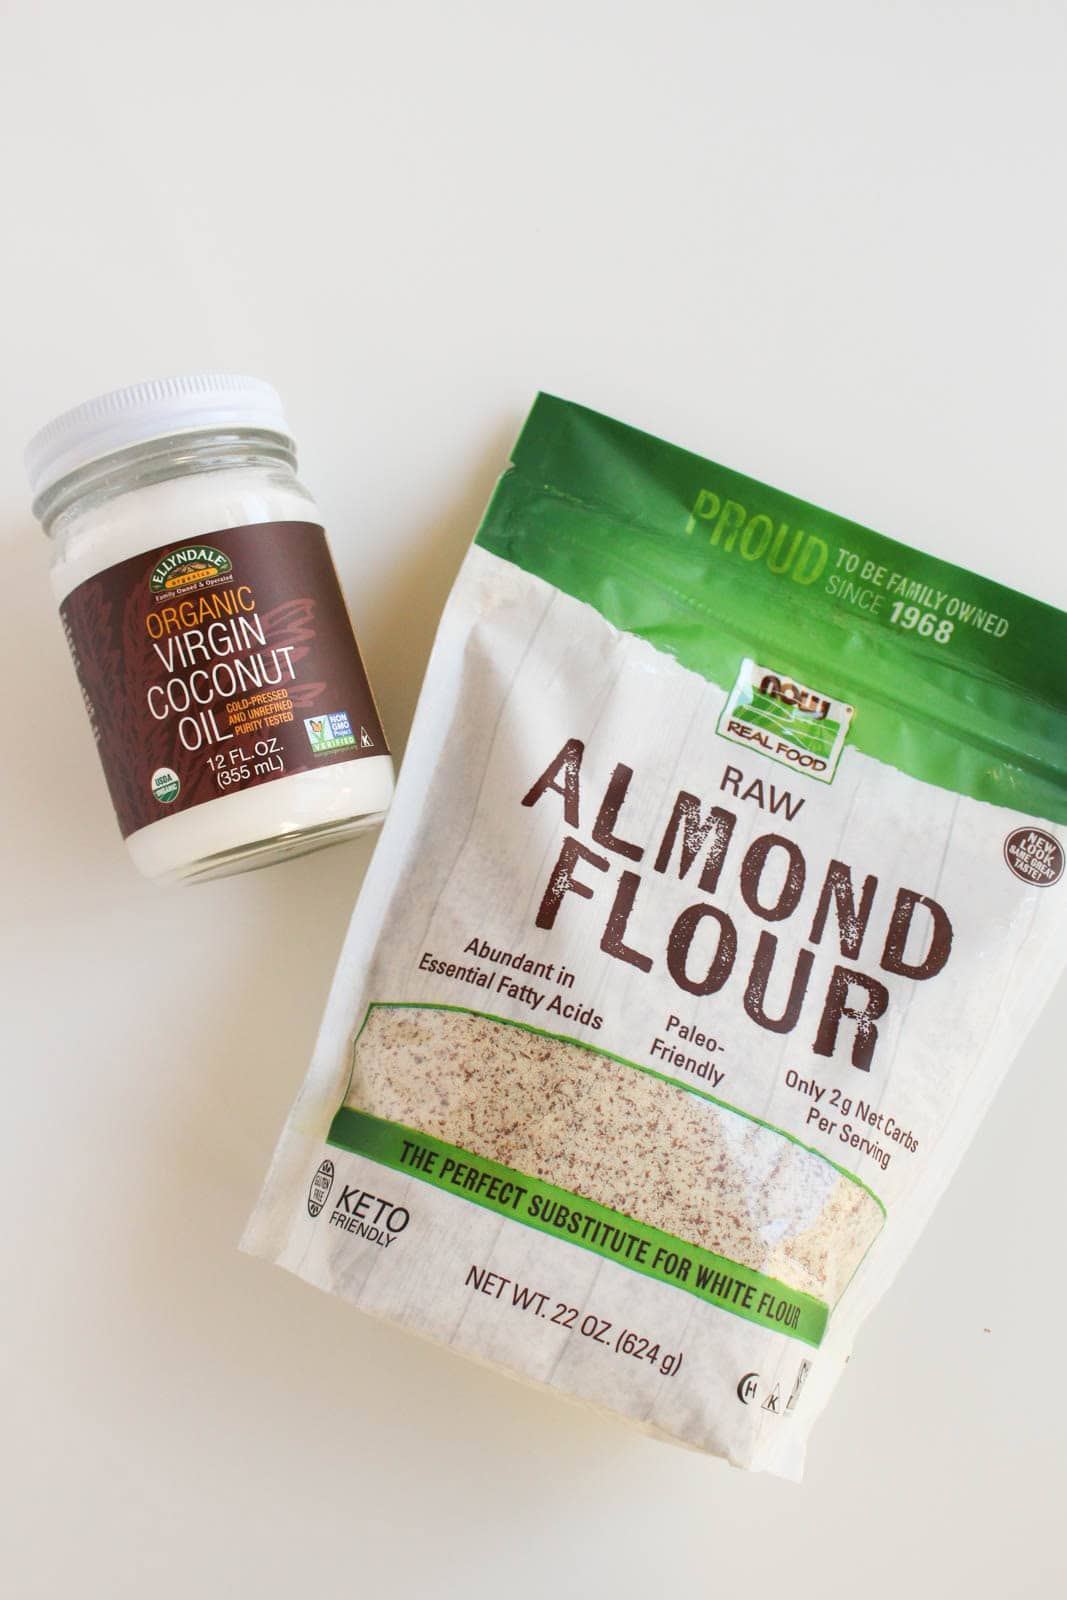
Thank you to NOW Foods for sponsoring this recipe! I ALWAYS have their almond flour stocked in my pantry, it is one of my baking staples! I also tested this recipe multiple ways, and you can also use their coconut oil in place of the butter if you are looking for a dairy free option. Use code CANDACE to get 20% off on their website!
Tips for Success
- If you want to make this pie crust dairy-free, you can substitute with coconut oil, and it will work well. Just know that it won’t be quite as flaky and it may break more easily.
- Keep your ingredients cold — that’s the secret to a flaky texture. The butter needs to be right out of the fridge. And if you use coconut oil instead, make sure you put it in the fridge for a few minutes so that it solidifies before using it.
- Don’t overmix the dough; stop once it comes together. It can be easy to overmix when using a food processor, so pay attention.
- If it cracks, just press it back together with your fingers (grain-free doughs are forgiving!).
- I haven’t used anything but a food processor for this crust, so I can’t recommend another mixing method because I haven’t tried it.

Storing & Freezing
You have multiple options for storing!
- Just mix the dough, wrap it in plastic and store it in the fridge for up to 3 days. Then press it out and bake on the day you are making the whole pie.
- Bake the pie crust, cover it with plastic wrap in the pie dish, and store it in the fridge for 2-3 days before you are ready to bake it with the filling.
- Bake the pie crust, cover it with foil, and store the baked crust in the freezer for up to 3 months. Just take it out and let it thaw for about an hour before baking!
If you need more Thanksgiving recipes!
Head on over to my post all about how to build the Ultimate Thanksgiving Menu! I’ve got everything from stuffing to pie to side dishes and desserts!
FOLLOW ALONG! Subscribe to my newsletter and follow along on Facebook, Instagram, and Pinterest for my latest recipes!

Easy Paleo Pie Crust
Equipment
Ingredients
- 1 cup almond flour
- 2/3 cup tapioca flour
- 2 tbsp coconut flour
- 1/2 cup grass-fed butter , cold
- 1 tbsp honey (for sweet pies) (1 tsp for savory pies)
- 1/2 tsp sea salt
- 1 large egg
Instructions
- First, make sure the butter is cold and straight from the fridge. Don't let it soften before you make the dough. Cube the butter using a sharp knife, then in the bowl of a food processor, add all of the ingredients, then pulse until a dough forms.
- You can use a rubber spatula to scrape the dough out and place it onto a piece of plastic wrap that is laying flat on the counter. Gently form the dough into a ball, then wrap the plastic tightly around the dough. Let the ball of dough chill in the fridge for at least 20 minutes, preferably an hour.If you let the dough sit overnight in the fridge until you're ready to use it, then you can just set it on the counter to soften up for about 10 minutes before it goes into the pie pan.
- To get the dough into your pie dish, you can roll it out between two pieces of parchment paper and flip it into the pie dish, just like you would a traditional pie. But I personally like to press the dough into the pie dish because it can easily break doing it the other way.
- So spray the dish with non-stick oil, or spread butter into the bottom of the dish. Place the dough ball in the middle of the pan, then use your fingers to press the crust evenly onto the dish with a piece of parchment paper so that your fingers don't stick. (shown in a photo above)
- Once the crust is flat on the bottom and evenly distributed up onto the sides, pierce the bottom with a fork. Then bake at 375 degrees F for 15 minutes for a fully cooked crust. Only cook it for 6-8 minutes if you are par baking. You will still be able to add your pie filling and cook that without browning the edges too much. When you add the pie filling later, you can use a foil tent to prevent burning the edges.
Notes
- If you want to make this pie crust dairy-free, you can substitute with coconut oil, and it will work well. Just know that it won’t be quite as flaky and it may break more easily.
- Keep your ingredients cold — that’s the secret to a flaky texture. The butter needs to be right out of the fridge. And if you use coconut oil instead, make sure you put it in the fridge for a few minutes so that it solidifies before using it.
- Don’t overmix the dough; stop once it comes together. It can be easy to overmix when using a food processor, so pay attention.